The right cake decoration depends on one thing: how much time you have before the event, not how skilled you are.
A chocolate drip forgives uneven frosting and hides flaws in minutes, while hand-piped messages demand practice on parchment first and a cool room or the buttercream slumps into puddles.
Even a grocery-store cake becomes custom with restraint: one bold element, not three competing ones.
1. Rainbow Layers
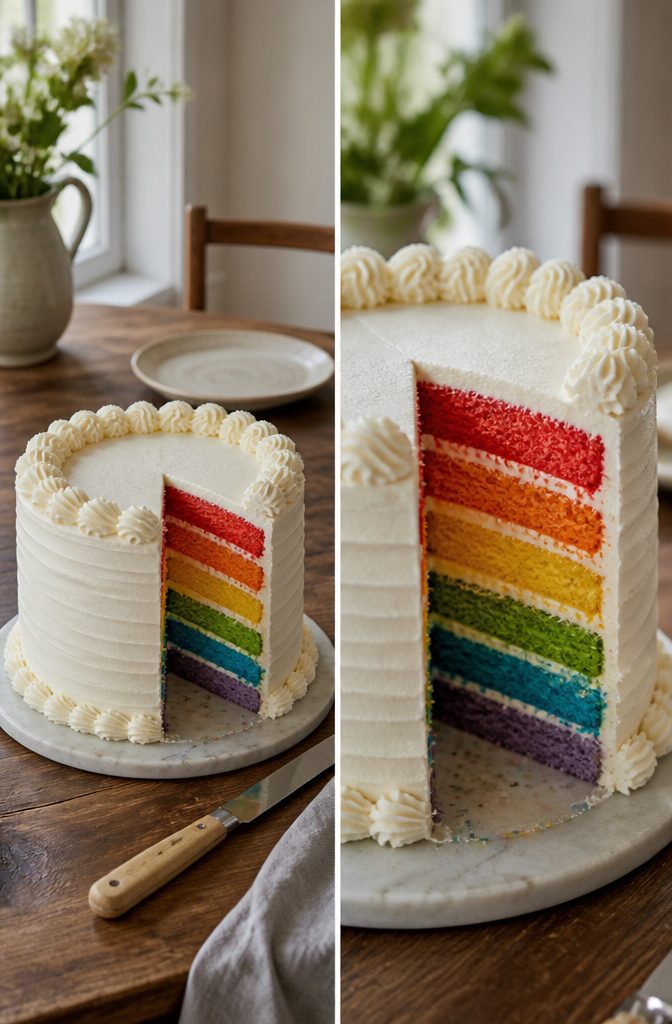
A rainbow layer cake delivers its surprise the moment the knife goes in. Six or more thin layers of dyed sponge stack into a clean spectrum, and the visual effect depends on keeping those colors from bleeding into each other.
The buttercream between layers needs to be thick enough to act as a barrier, which means the base sponge must be sturdy. A delicate chiffon or overly moist cake will compress and smudge the lines.
Cooling the layers completely before assembly is non-negotiable. Warm cake softens buttercream on contact, and once those colors start to run, the effect is ruined.
The same cool room temperature that keeps piping buttercream stable applies here. I build these a day ahead when I can: bake in the morning, let the layers sit out until they reach room temperature, then wrap and chill overnight.
The cold firms the crumb and makes the buttercream easier to smooth between layers. The result is a cake that looks ordinary on the outside and opens into something far more deliberate than the frosting suggested.
2. Ruffle Layers
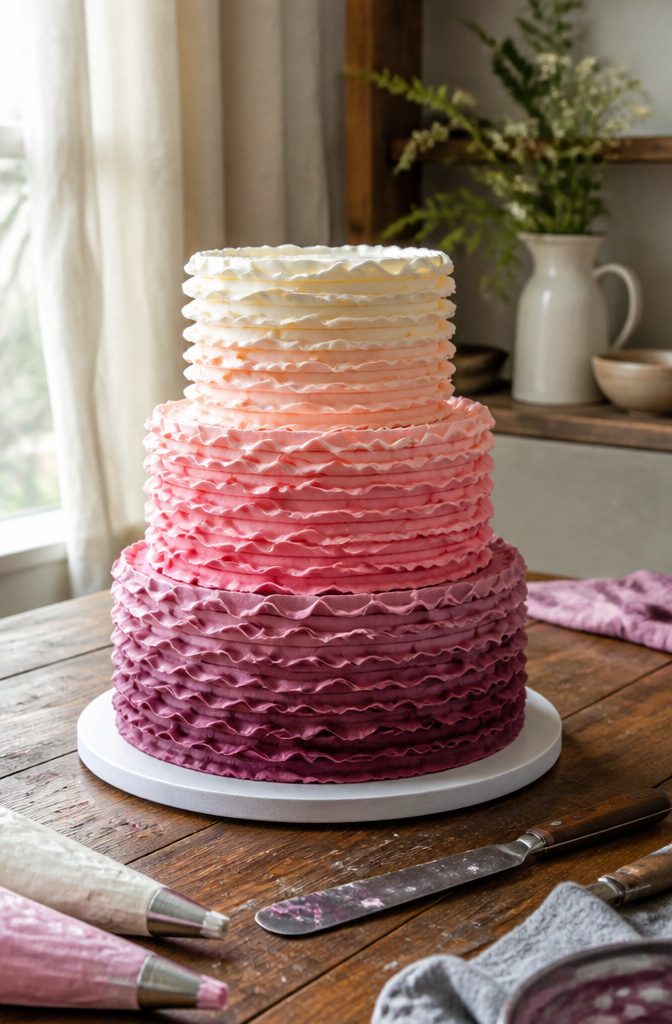
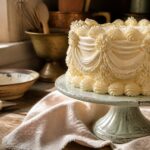
A ruffle layer builds soft, overlapping waves from the bottom of a tier to the top.
You pipe each ruffle with a petal tip held at a slight angle so the frosting fans outward and the next ruffle tucks partly over it. The motion is a loose figure-eight or a short back-and-forth, not a steady squeeze-and-drag.
The frosting needs to hold a peak but still bend; too stiff and the ruffle cracks, too soft and it slumps into a ribbon.
I aim for a medium-to-stiff buttercream that keeps its shape when I lift the paddle. If I can form a curl on the spatula and it droops after ten seconds, I have it right.
Beginners usually struggle with two things: pressure control and overlap spacing. Heavy pressure fattens the ruffle and crowds the row above it; light pressure disappears into the cake.
I found I had to slow my turntable speed way down to keep my hand rhythm steady. The second ruffle row is the one that shows whether you have the hang of it, since the eye reads that seam first.
3. DIY Topper
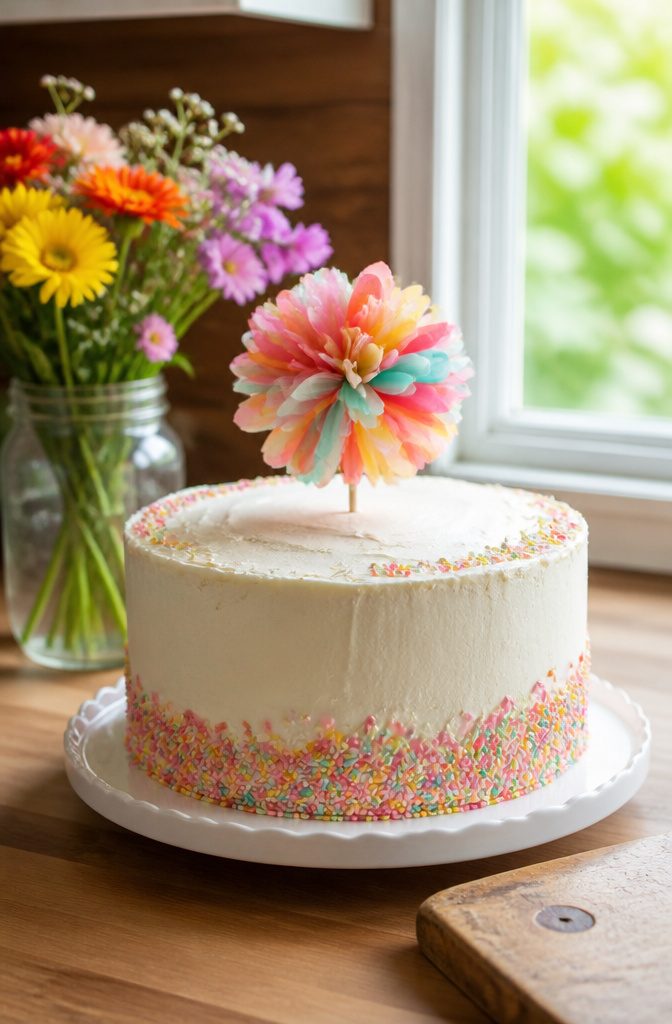
A grocery-store cake with the right additions reads as custom, not desperate.
The base matters: a cake with smooth, even icing gives you a surface to work with, while one already crowded with rosettes or airbrushed patterns fights every topper you add.
Plain white or chocolate buttercream from the bakery case is the safer buy.
Sprinkles are the fastest upgrade and the hardest to overthink. A dense layer across the top hides uneven icing underneath and reads as intentional retro charm rather than last-minute rescue.
For a more composed look, cluster them along the base edge or in a crescent across one side; the asymmetry looks designed.
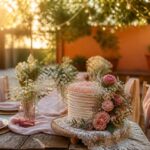
Fresh flowers work if you treat them as architecture, not garnish. A small cluster of edible varieties like pansies or nasturtiums, stems wrapped in floral tape, sits cleanly on top.
Non-edible blooms are fine for show if you keep them clear of the cut surface; a cake server lifts the slice out from underneath.
The line between personal and sloppy is restraint. One bold element, a pile of sprinkles or a single flower cluster, beats three competing ideas.
4. Candy Topped
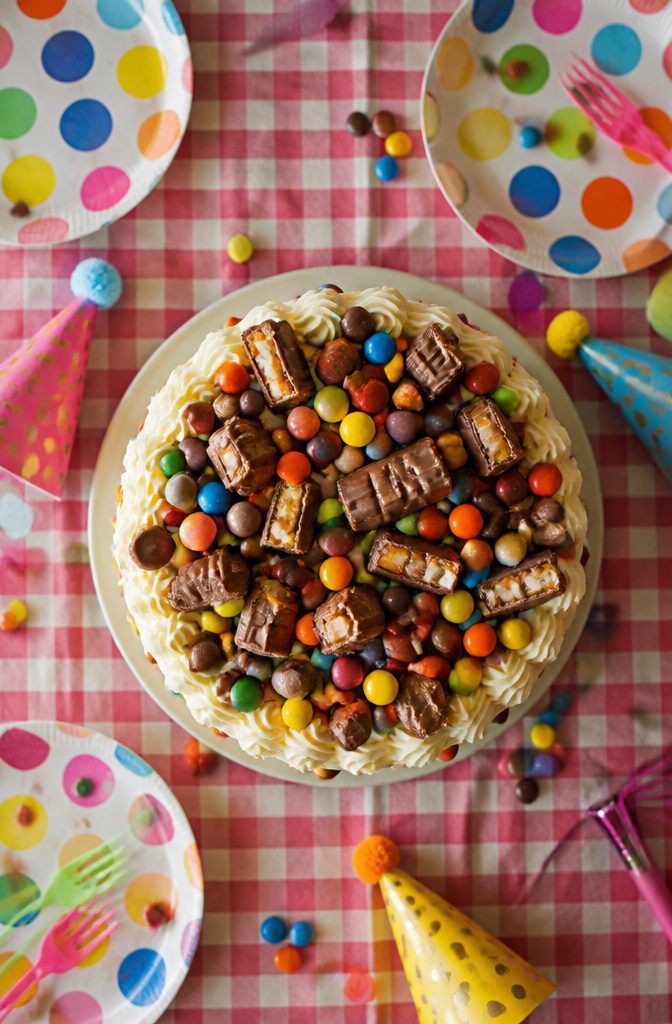
A cake covered in candy reads as a party before anyone takes a bite, but the weight of the candy will sink into soft buttercream within an hour unless the frosting has crusted or set.
Hard-shell candies, chocolate bars left in their wrappers, and anything with a sealed coating hold color and shape far better than gummies or sprinkles, which bleed or weep once the sugar meets moisture.
This look belongs at children’s birthdays and casual backyard gatherings, not weddings or formal dinners. The Candy Land approach, one baker noted, came from a five-year-old’s request for "gobs and gobs of candy," and that tells you the audience.
For a Halloween theme or a color-matched birthday, a cheesecake or single-tier cake works well as the base; the candy does the decorating so you are not piping at midnight.
You give up some control. You choose the palette by shopping the candy aisle, but you surrender the clean lines and smooth finish that frosting alone delivers.
For a crowd of thirty to forty, the visual impact justifies the informality. For a seated dinner where the cake arrives as the final course, it looks out of place.
5. Naked or Semi-Naked Cakes
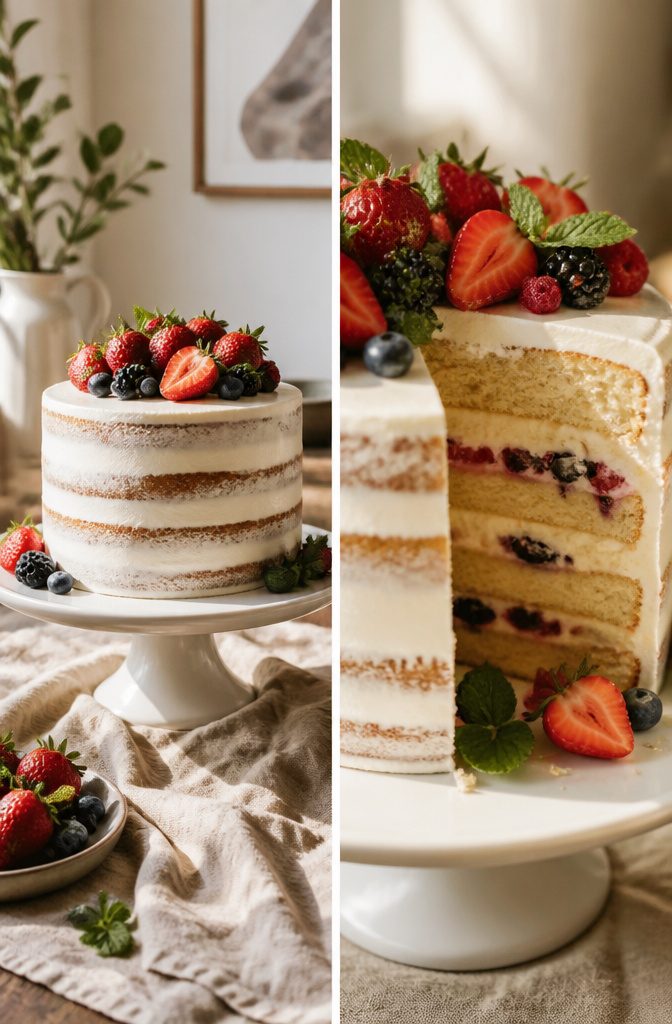
A naked cake leaves the sponge fully exposed between the layers; a semi-naked cake carries just enough buttercream on the outside that you see streaks of it and patches of cake through a thin veil.
Both look effortless on Pinterest, but the less icing you use, the more perfect the base has to be. Every dome, crack, and uneven crumb shows, so leveling your layers with a serrated knife is not optional here.
The buttercream matters too. It should sit at cool room temperature, soft enough to spread without dragging the crumbs but not so warm that it loses its shape between layers.
I find a thin crumb coat on the outside, scraped almost clean, gives you that semi-naked finish without the cake looking unfinished.
For a true naked cake, you skip the outside icing entirely and rely on a thick filling between layers to hold the structure.
This is a style that rewards a well-made sponge more than a heavily decorated one ever will.
The flavor and texture of the cake itself take center stage, which is why I think it works best when you have a recipe you trust completely.
6. Fresh Citrus
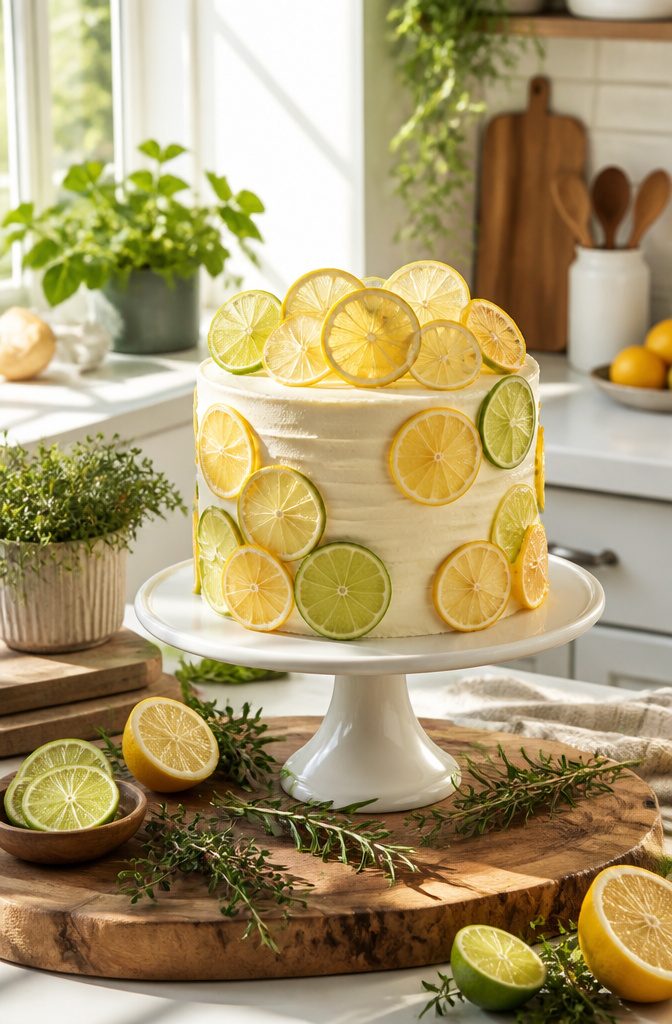
Thin citrus wheels signal lemon or lime flavor before the first slice, which is why I like them on cakes where the fruit is already inside the batter or curd.
Blood oranges and grapefruit look dramatic but tend to weep; drying the slices in a low oven for two to three hours keeps them stiff enough to stand upright without bleeding onto buttercream.
Lemons and limes hold their shape best, and their paler pith reads as clean rather than bitter against white or pale-yellow frosting.
If you are working with cream cheese icing, keep the slices confined to the top center; the acid and moisture will eventually break down the surface anywhere they touch for more than a few hours.
For a tequila cake or any sponge with citrus zest in the crumb, this is the decoration that tells guests exactly what they are about to taste.
7. Botanical Theme
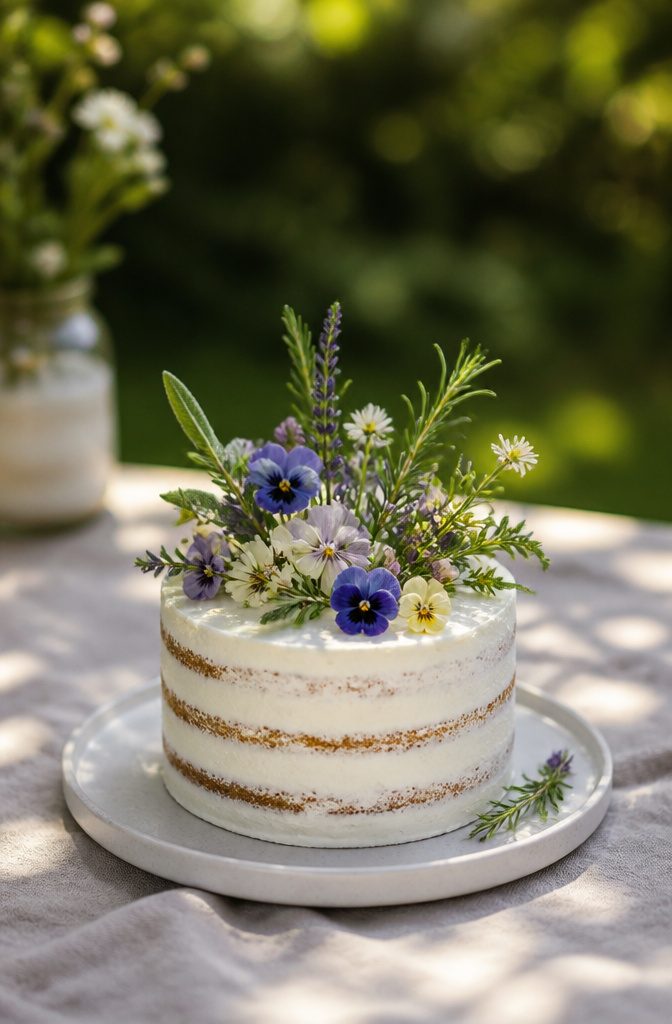
Edible flowers and herbs read as intentional decoration only when you place them with purpose rather than scattering them like an afterthought.
Rosemary and sage hold up best for candying, and their stiff stems let you anchor them deep into the cake so they stand at deliberate angles.
Wildflowers work for a looser look, but they need clustering: a single bloom on a blank tier looks like something fell there by accident, while three grouped at the edge of a layer reads as a design choice.
The grocery store will not reliably stock edible varieties, so check the label or ask the produce manager whether the flowers were grown without pesticides.
Specialty suppliers are the safer bet for anything that will touch frosting directly, since the stems of non-edible varieties can still seep residue into the cake.
Summer is the practical window for fresh edible flowers; outside those months, candied herbs keep the botanical theme without the sourcing hunt.
8. Piping Messages
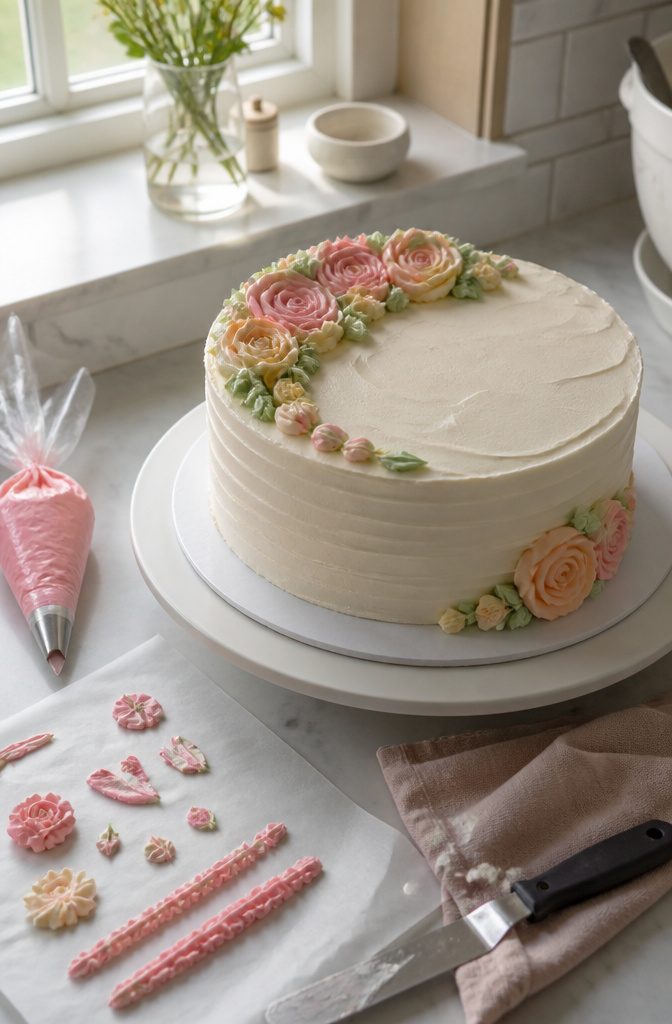
A handwritten message piped across the top of a cake lands harder than almost any other decoration because it is unmistakably meant for one person.
The technique itself is simple: a piping bag fitted with a small round tip, buttercream at a workable consistency, and a steady hand.
What separates a clean result from a wobble is pressure control, which I find easiest to manage when the bag is only two-thirds full and the top is twisted tight to push the frosting down without air gaps.
Practicing on parchment paper first is the step most people skip and every baker later wishes they had not.
The paper lets you test letter spacing, find the right pressure for thin upstrokes versus thicker downstrokes, and work out how much frosting a single squeeze delivers.
I pipe the full message two or three times, peel the paper away, and only then touch the cake.
The few minutes of rehearsal spare you the far longer job of scraping a failed "Happy Birthday" off fondant or buttercream and starting over.
9. Seasonal Fruit
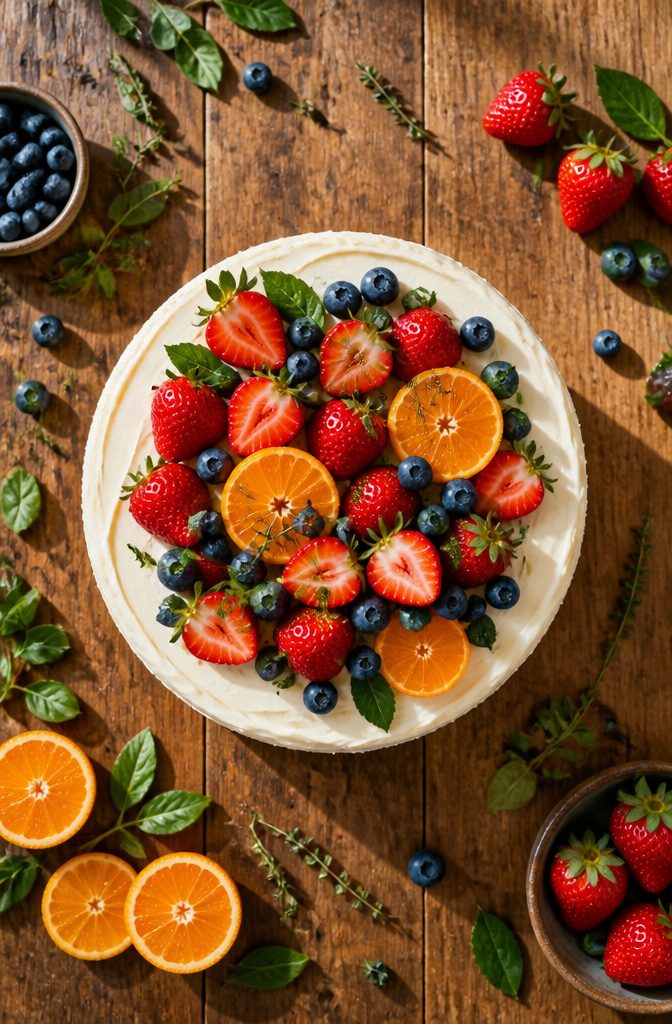
Fresh fruit on a cake only works if it tastes as good as it looks, which means ripeness comes before placement.
Blueberries, raspberries, and strawberries carry summer cakes; spiced apples, pears, and clementines do the heavy lifting in autumn and winter. Sugared grapes, figs, or physalis can add drama when the season allows.
The fruit has to be washed and fully dried before it touches the icing, or you will get bleed and weeping.
Whole fruits hold up better than sliced ones, and the ones you choose should not be the type to stain buttercream.
A blueberry and tangerine design can look stunning when the fruit stays put and keeps its color where it belongs.
Let what is actually available at the grocery store steer the theme rather than forcing a design that needs out-of-season produce shipped from across the country.
The cake will taste better, cost less, and the colors will read as natural because they are.
10. Chocolate Drip
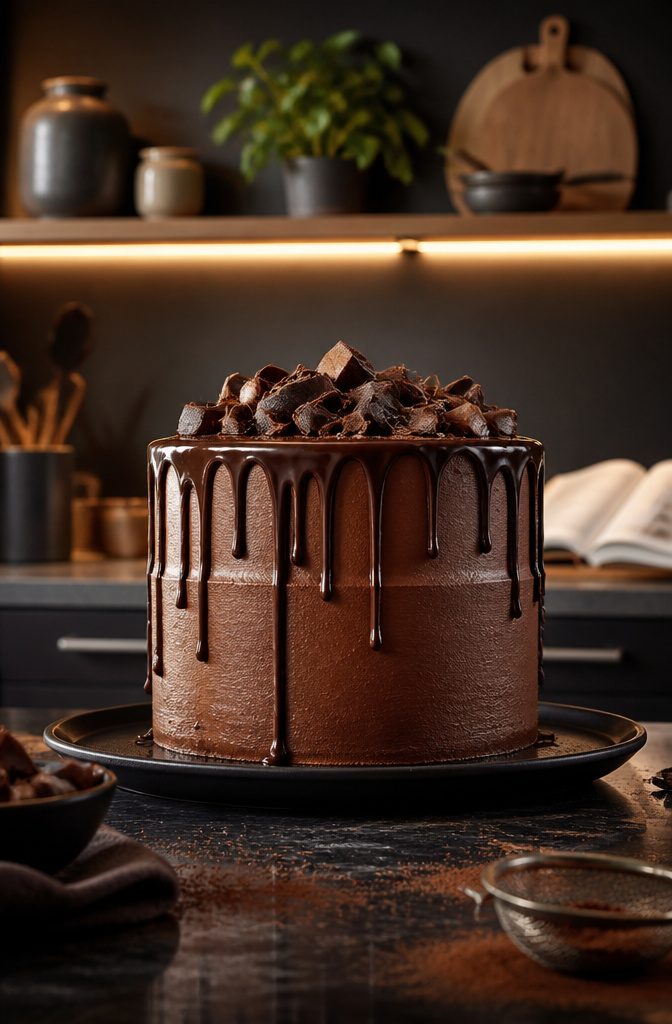
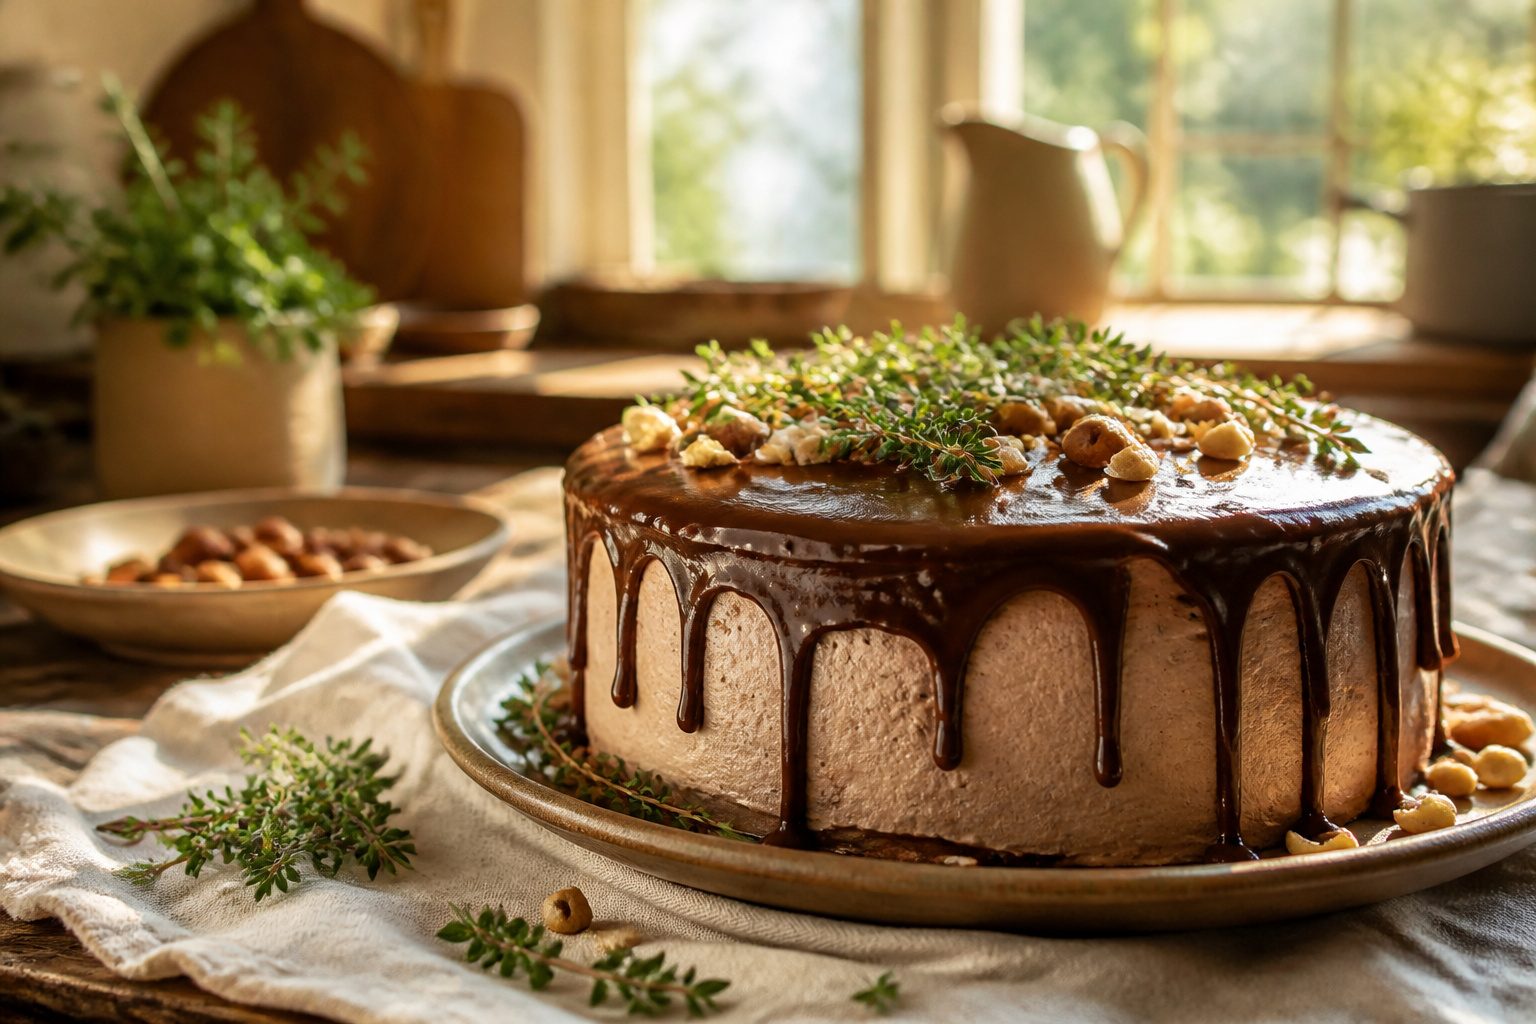
A chocolate drip hides more flaws than any other finish I know.
The ganache has to be just warm enough to flow an inch or two down the side before it sets, which means cooling the cake completely first. A warm cake melts the drip into a smear.
Ganache consistency is the whole control panel.
Too thin and it runs to the plate; too thick and you get globs instead of clean lines. I test a spoonful on the back of a bowl and watch how it falls.
The base coat underneath can be imperfect, even slightly uneven, because the drips draw the eye to the edge and the gloss catches the light there. What reads as a mistake in plain buttercream disappears under dark chocolate.
Caramel works the same way, though it sets faster and forgives less. Chocolate gives you a few extra seconds to nudge a drip with a small offset spatula before it skins over.
Either way, the cake goes back in the refrigerator for fifteen minutes after the drip goes on, so the next layer of decoration has a firm surface to sit on.
What the Cake Base Must Do
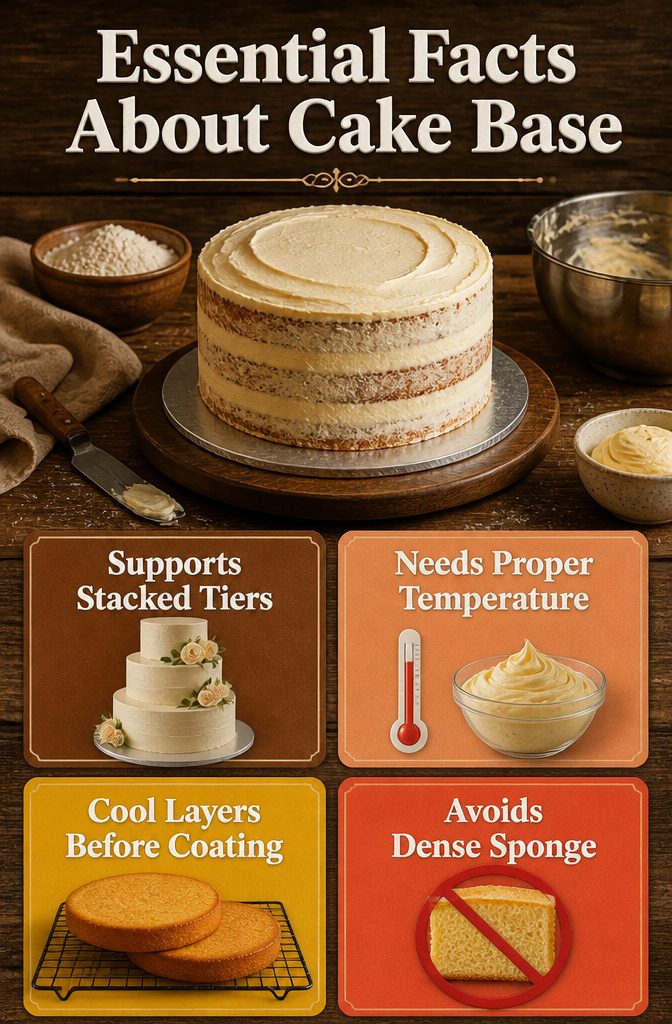
A dense sponge collapses under the weight of fondant or stacked tiers, no matter how pretty the finish looks in cake decorating pictures.
Buttercream has to sit at cool room temperature before it goes anywhere near the cake; too warm and it slumps, too cold and it tears the crumb when you spread.
I let layers cool completely before adding a crumb coat, because residual heat softens the buttercream from below and turns a smooth surface into a streaked mess.
Rushing that step means starting over or hiding the damage with thicker frosting that throws off the whole proportion.
Simple Techniques to Start With
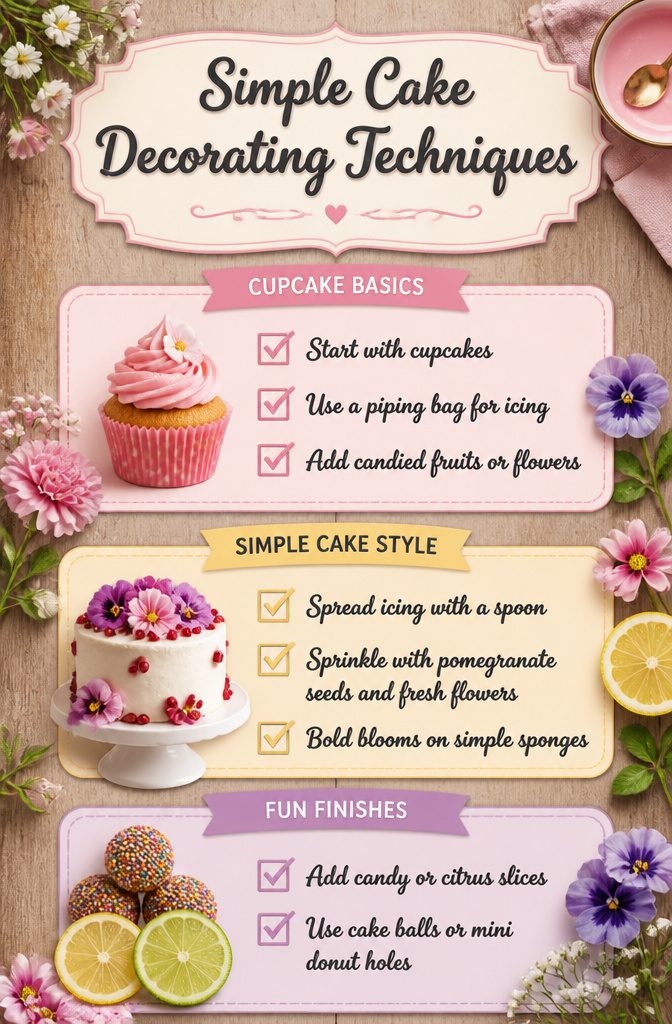
Cupcakes are the right place to start if you want to build decorating confidence without committing to a full cake.
A single swirl of icing through a piping bag, plus one adornment, teaches you how pressure and angle control the finish.
Candied fruit, edible flowers, fresh fruit, or a piece of chocolate each sit cleanly on top and let you practice placement before you scale up.
The back of a spoon is the only tool you need for your first layer cake.
Spread the icing, then sprinkle with pomegranate seeds and fresh flowers for a look that reads intentional rather than unfinished. Bold blooms on simple sponges with vanilla buttercream carry the whole design; the impact comes from scale, not technique.
Candy and citrus slices work the same way. Cake balls or mini donut holes rolled in sprinkles turn a plain cake into something unexpected, and thin lemon or lime wheels on top tie the decoration to the flavor inside.
Each of these builds one skill: even coverage, color balance, or telling a story with what is already in the kitchen.
How to Choose a Theme
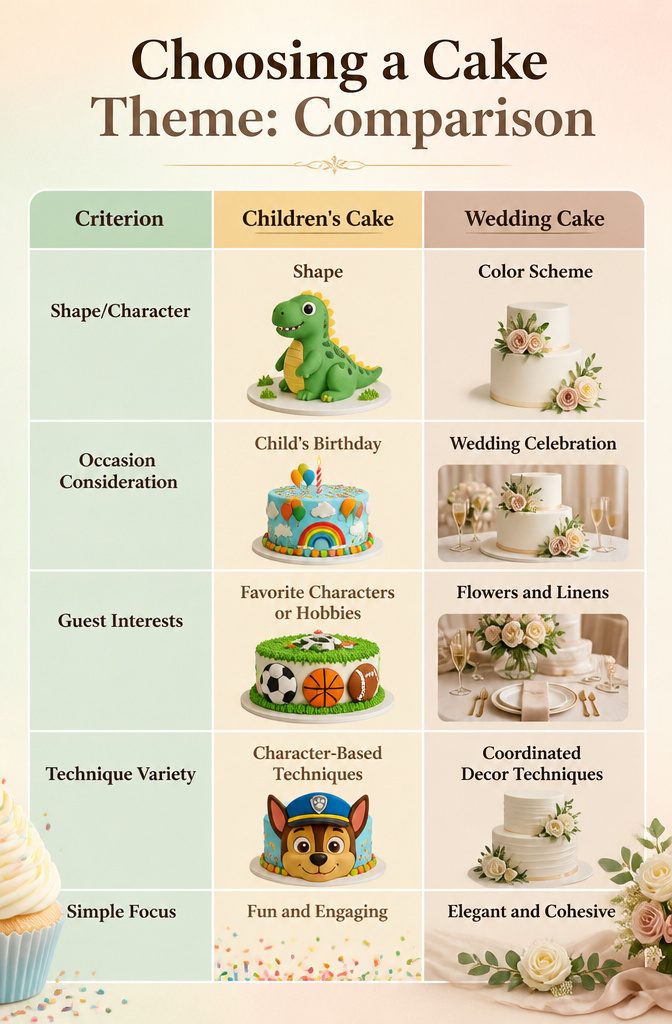
A theme is the decision that makes every later choice easier, not harder. Start with who will blow out the candles or cut the slice.
A child’s cake wants a shape or a character; a wedding cake wants a color scheme that speaks back to the flowers and linens already chosen. The occasion sets the boundaries, and the recipient’s interests fill them in.
Seasonal and floral themes work across almost every skill level. Spring cakes carry sugar blossoms or real flowers arranged by a florist, though anyone using fresh blooms needs to confirm the flowers are food-safe and untreated.
A hobby or interest, from gardening to a favorite sport, gives the design a center that guests recognize immediately.
The ten techniques in this article range from a single chocolate drip to layered ruffles and hand-piped messages.
Not every technique belongs in every theme. A botanical cake pairs naturally with fresh citrus or seasonal fruit; a minimalist semi-naked cake fights against a candy-topped explosion.
The rule is coherence: two or three techniques that share a visual language beat five that compete for attention. Simplicity, as one master baker puts it, is key.
Why Cooling Time Is Not Negotiable
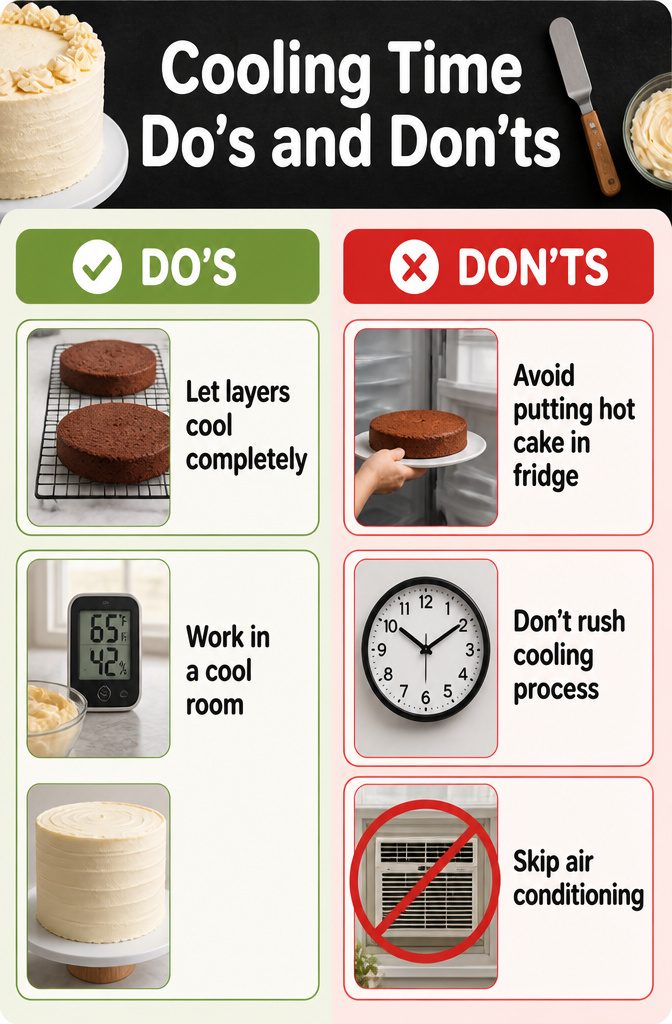
A warm cake turns buttercream into a glaze you did not plan on.
The residual heat softens the fat in the frosting past the point where it can hold a shape, so your carefully piped rosettes slump into puddles and your smooth sides develop waves.
Let the layers cool completely, which in a home kitchen means roughly two to three hours on a wire rack at room temperature.
Rushing this with a refrigerator can help, but the interior stays warmer than the surface suggests, and cold cake exposed to air will sweat under the buttercream later.
The temperature of the room matters as much as the cake. Buttercream at 80 degrees behaves like a sauce; at 65 degrees, it stays firm enough to smooth with a scraper and hold a piped edge.
If your kitchen runs hot, work in shorter sessions and return the bowl to the refrigerator between colors.
A cool room temperature, as bakery sources note, is the workable zone for piping. Skip the air conditioning and you are fighting the material the whole way.
Experimenting With Color and Texture
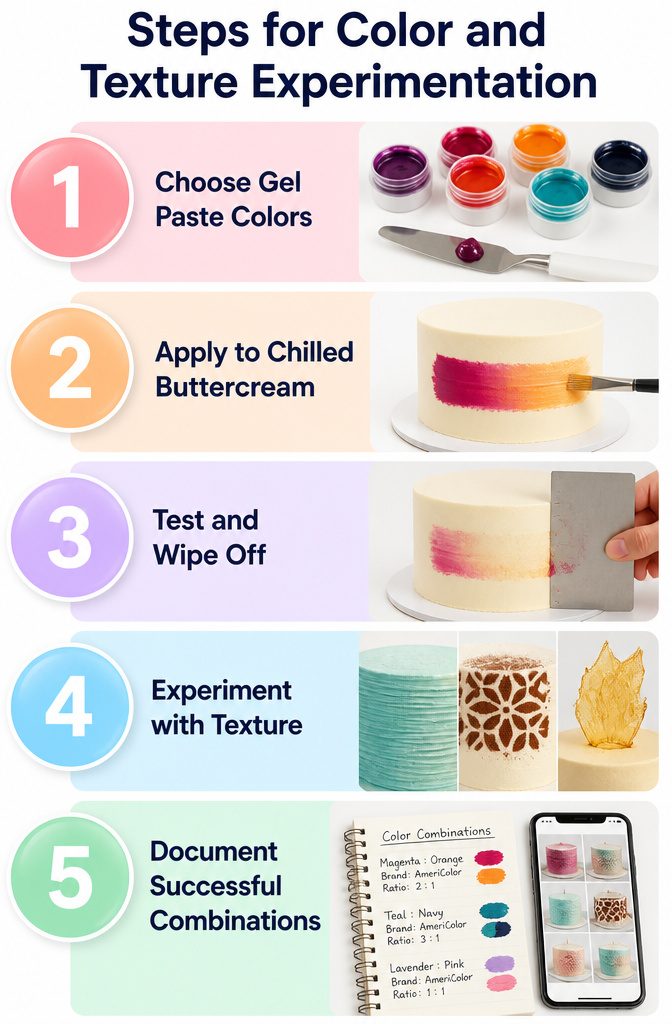
Color on a cake is cheap to undo if you plan for it.
Gel paste costs pennies per drop and wipes off a chilled buttercream base with a bench scraper, so you can test a stripe or an ombre edge, scrape it clean, and try again in the same afternoon.
Fiona Cairns’ advice to experiment before committing to the final cake makes sense because buttercream stays workable; fondant does not. Once fondant is smoothed and trimmed, the color is locked in and the only fix is a full re-cover.
Texture follows the same split.
A comb scraped through frosting, a stenciled cocoa pattern, or a pulled-sugar shard you set on top can be lifted off and replaced. Textures built into the cake itself, carved relief or embedded elements, cannot.
The part most beginners skip is writing down what worked. Phone pictures between attempts, with a note on the color brand and ratio, save you from recreating a happy accident.
I keep a running file of combinations that read right on camera versus in person; the two do not always match, and the picture is what the search for cake decorating pictures is after.
Frequently Asked Questions
What are some easy cake decorating ideas?
Sprinkles, fresh fruit, candy, and simple piping techniques are the fastest ways to decorate without advanced skills. A thick layer of sprinkles hides uneven icing underneath, while thin citrus wheels or seasonal berries tie the look to the flavor inside.
For a first layer cake, the back of a spoon is the only tool you need; spread the icing and add pomegranate seeds or fresh flowers for a finished look.
How do I decorate a cake like a pro?
Start with a cake base you trust completely, because a well-made sponge matters more than perfect piping.
Let layers cool fully on a wire rack, roughly 2 to 3 hours, before any buttercream touches them; residual heat softens frosting past the point where it can hold a shape.
Practice piping messages on parchment paper two or three times before touching the cake, and work at cool room temperature, around 65 degrees, so buttercream stays firm enough to smooth and shape.
What is a naked cake?
A naked cake leaves the sponge fully exposed between layers with no outside icing at all, while a semi-naked cake carries just enough buttercream on the outside that you see streaks of it and patches of cake through a thin veil.
Both styles demand a nearly perfect base; every dome, crack, and uneven crumb shows, so leveling layers with a serrated knife is required.
The flavor and texture of the cake itself take center stage, which is why this look rewards a recipe you know well.