This buttercream tastes like vanilla and cold butter, and the one thing that makes it different from a modern swirl job is the hour-long chill that hardens the frosting into something you can pipe onto without denting.
Most home cooks skip the paper sketch and crowd their Lambeth layers into a blur, or they pipe onto soft buttercream and watch the shells sag within the hour.
Joseph Lambeth wrote the rulebook in 1934, and the same principle still applies: a cold cake, a #104 tip round-side-up, and ruffles rehearsed on parchment before they touch the finish.
Ingredients
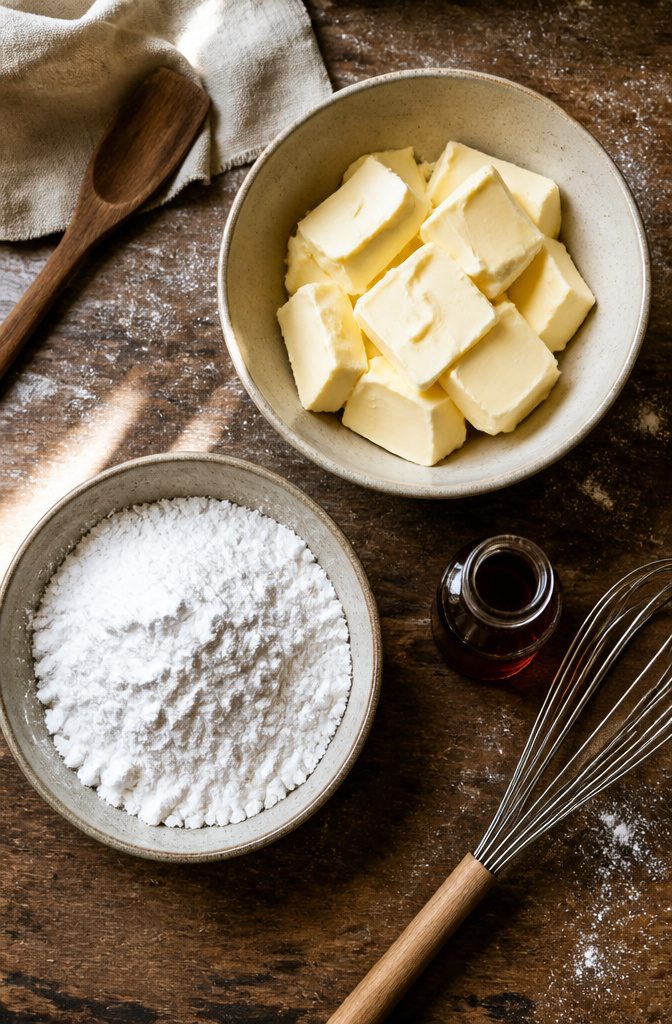
The buttercream for vintage cake decorating is a straightforward American formula scaled up to fill and coat a layer cake with enough left for piping.
I use 24 ounces of unsalted butter, 24 ounces of powdered sugar, and 2 teaspoons of vanilla extract, beaten until the sugar fully hydrates and the color turns pale.
That yields about 3 cups, so I double the batch to reach the 6 to 8 cups needed for a finished cake with decorative work.
For the cake itself, I bake two or three layers in either 6-inch or 8-inch rounds.
The smaller diameter gives more height per slice and a neater canvas for piped borders; the 8-inch feeds more people but needs a sturdier dam of frosting between layers. Either works with the buttercream quantity above.
- Unsalted butter: 24 ounces (plus another 24 ounces for a full batch)
- Powdered sugar: 24 ounces (ditto)
- Vanilla extract: 2 teaspoons
- Total buttercream needed: 6 to 8 cups
- Cake layers: 6-inch or 8-inch round, your choice
Method
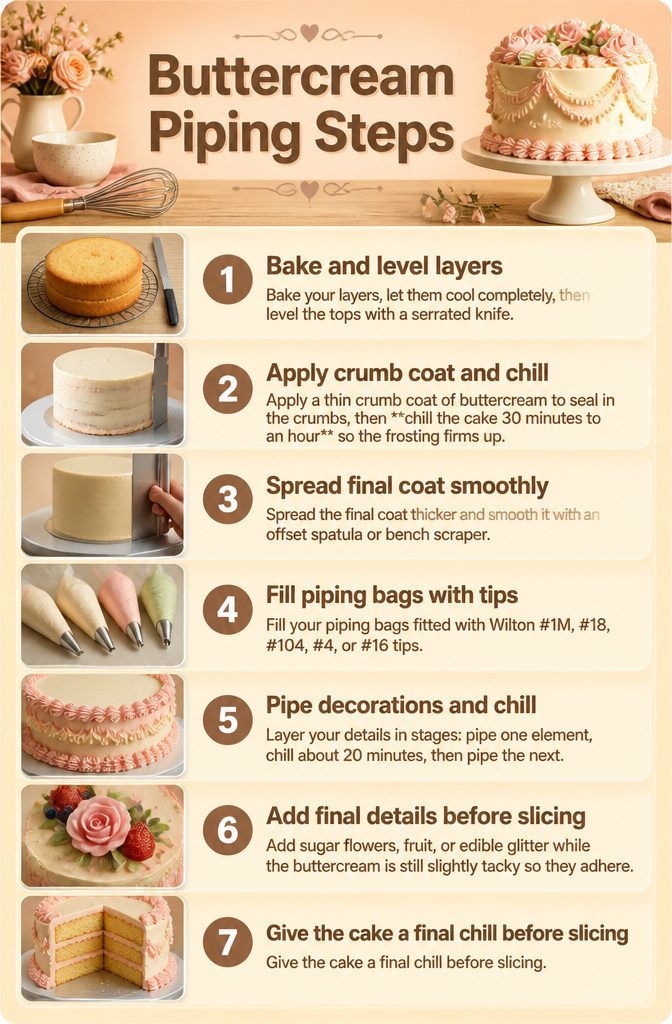
- Bake your layers, let them cool completely, then level the tops with a serrated knife. Trimming the brown edges off the sides keeps the finish clean.
- Apply a thin crumb coat of buttercream to seal in the crumbs, then chill the cake 30 minutes to an hour so the frosting firms up. The cold hardens the butter in the buttercream, giving you a solid surface to work on.
- Spread the final coat thicker and smooth it with an offset spatula or bench scraper. A bench scraper against the turntable gets the sides straight; swipe the top edge inward to sharpen the corner. Chill again until the frosting sets.
- Fill your piping bags fitted with Wilton #1M, #18, #104, #4, or #16 tips. The #1M shells a classic border, the #104 builds ruffles, the #4 handles inscriptions. Pipe onto the chilled cake so the pressure of the tip doesn’t dent the finish.
- Layer your details in stages: pipe one element, chill about 20 minutes, then pipe the next. The cold sets the buttercream hard enough that the weight of new piping won’t sag or smudge what is underneath.
- Add sugar flowers, fruit, or edible glitter while the buttercream is still slightly tacky so they adhere.
- Give the cake a final chill before slicing. The buttercream softens as it warms, but a cold cake cuts neatly and travels better.
Piping Techniques
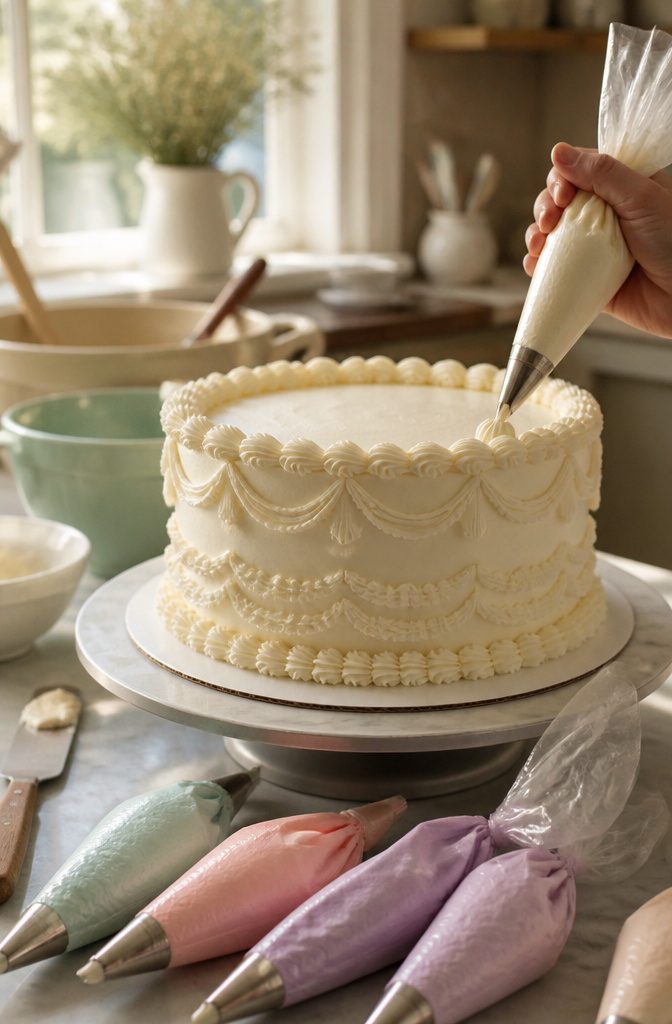
The three moves that carry vintage cake decorating are shell borders, ruffles, and inscriptions, and the gap between a cake that looks period-correct and one that looks messy is usually practice on parchment paper first.
Shell borders build the frame, ruffles create the layered frill that defines the style, and inscriptions finish it with the same restraint you see in photographs from the 1930s.
Joseph Lambeth wrote the book on this in 1934, literally, and the Lambeth method he documented is where the overpiped, almost architectural look comes from.
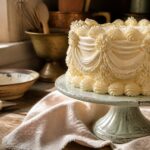
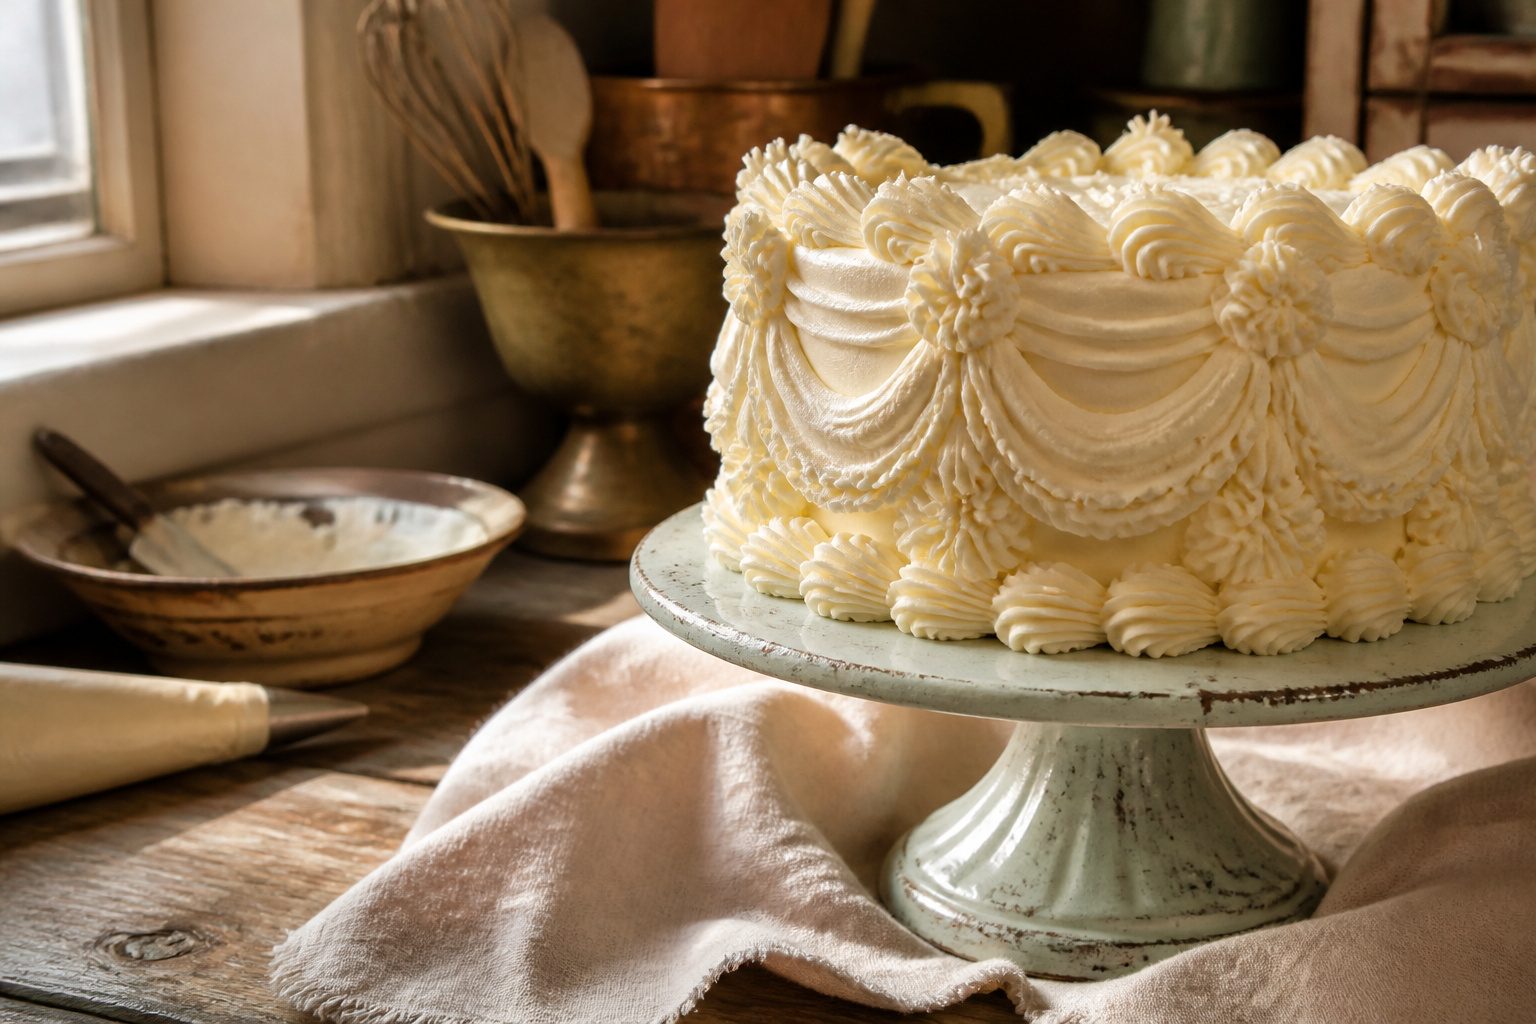
Layering is the core principle: a base border in a larger tip, then a reverse shell or ruffle on top in a smaller one, then dots or pearls in something smaller still.
The Wilton 104 tip with the round side up is the standard ruffle tool, and a turntable makes the motion continuous rather than stop-start.
Without that parchment paper rehearsal, the buttercream goes onto the cake uneven and the whole vintage effect collapses into amateur piping. This is the stage where the look lives or dies.
Frosting Consistency
Vintage cakes rely on buttercream for the swags and rosettes that cover the surface, though royal icing still has its place for the finest filigree and lettering.
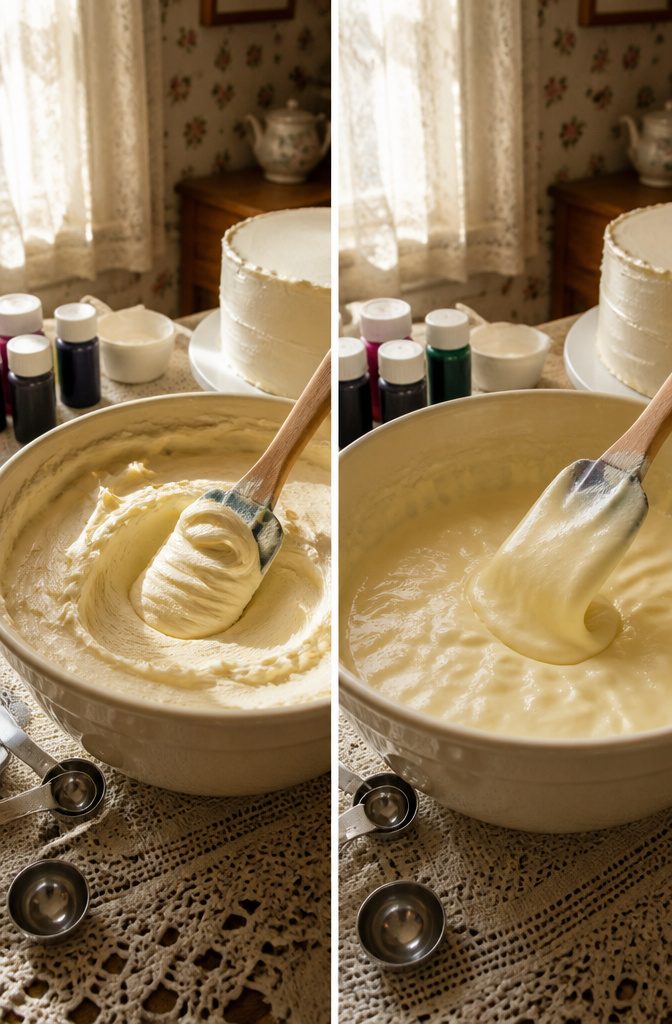
The buttercream needs to hit a middle ground that most home bakers underestimate: too soft and the piped line will sag within the hour, too stiff and the edge comes out jagged no matter how steady your hand.
I judge it by the pull of the spatula through the bowl; it should bend into a curl and hold the shape without cracking.
Gel food color is the only sensible choice here.
Liquid dye throws off the ratio and softens the buttercream past the point where piping discipline can save it. For a full vintage cake with two or three accent colors, you need 6 to 8 cups of buttercream total.
That leaves enough for the base coat, the decorative passes, and the inevitable touch-ups where a tip dragged or a shell lost its curve.
Chilling the Cake
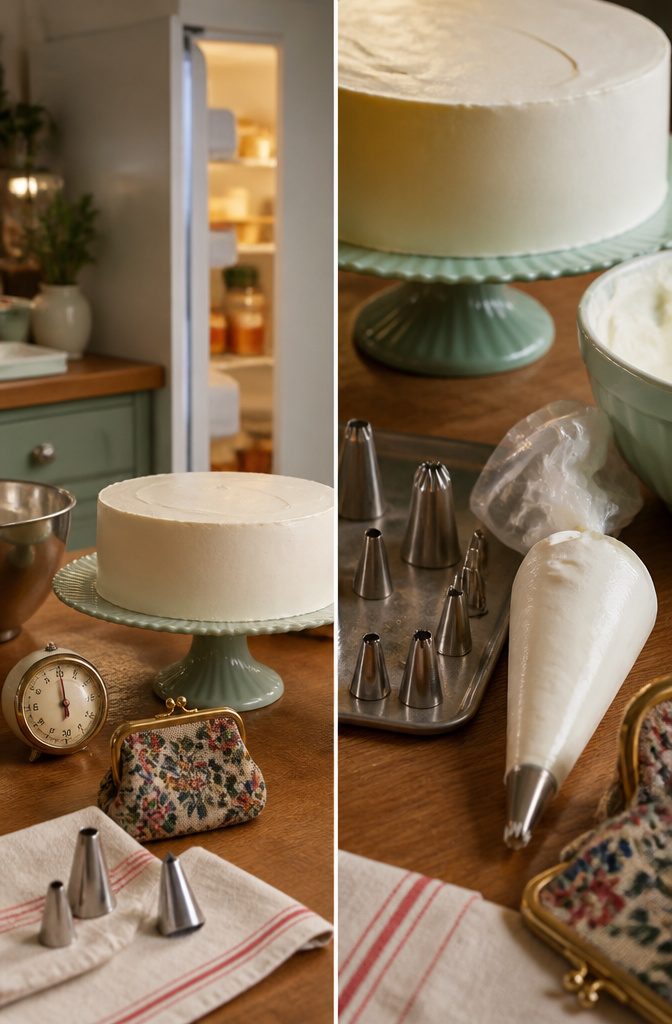
Soft buttercream smears under the pressure of a piping tip, so the base layer needs time to harden.
After smoothing the frosting, I chill the cake for about an hour in the refrigerator, or 30 minutes in the freezer if I am in a hurry. That firm surface grips the new buttercream and holds the vintage details crisp.
I pipe the decorative work right onto the cold cake, then chill once more so the new piping sets before anyone touches it.
The final step matters just as much. Buttercream tastes best at room temperature, not straight from the cold.
For a small cake, pulling it out two hours before serving works; a large one needs closer to four. Plan that time into the day so the finished cake looks vintage and tastes like dessert, not refrigerator.
Design Planning
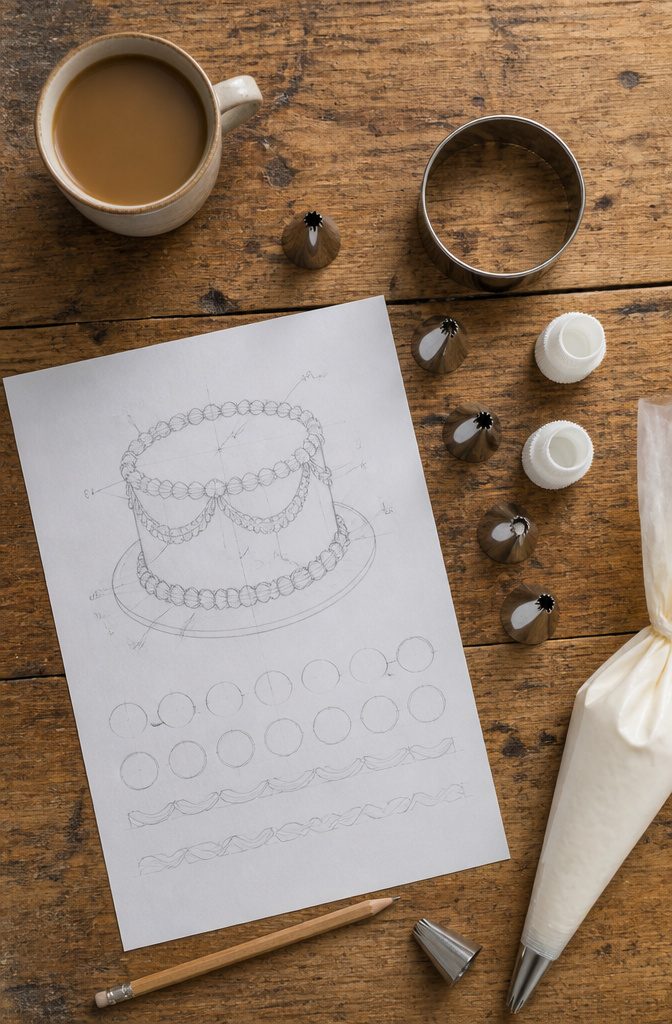
A blank sheet of paper saves more vintage cakes than any piping tip. I sketch every design before buttercream touches cake, marking start and end points for each border, spacing intervals for ruffles, and exactly where accents overlap.
Skipping this step is the mistake most home cooks regret once the piping starts and the spacing looks accidental.
Plain printer paper works fine; I note which tip numbers go where, and I list colors along the margin so I can spot which ones need couplers for quick swaps.
For frilled borders, a round cutter or a 3-inch paper spacer marks even intervals around the top and bottom thirds of the cake.
The sketch reveals gaps before they become gaps in frosting, and it keeps the layered Lambeth-style details from crowding each other into a blur.
Tools and Tips
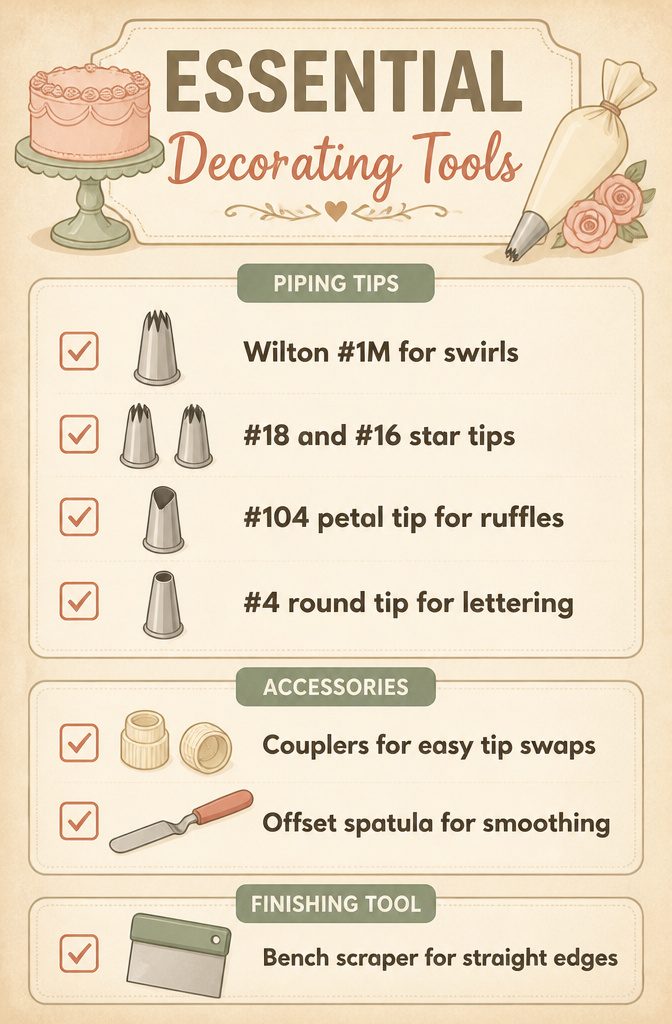
A vintage cake decorating setup doesn’t require a specialty store run. These are the tools I reach for:
- Wilton #1M for tall swirls and rosettes that read as classic bakery style
- #18 and #16 star tips for shells and borders with clean ridges
- #104 petal tip for ruffles and ribbon work; the curved edge gives the soft fold vintage designs depend on
- #4 round tip for lettering and fine line details
- Couplers in the bags you’ll swap tips on. Switching a #104 to a #4 without emptying the bag saves buttercream and patience, especially when one color does multiple jobs
- Offset spatula for smoothing and scraping mistakes; the angled handle keeps knuckles clear of fresh frosting
- Bench scraper for straight sides and sharp edges before piping goes on
Workshops and classes exist if you want hands-on guidance, but I learned most of this from practice boards and scraped-off do-overs. A cutting board works fine for testing pressure and pace before you touch the cake.
Frequently Asked Questions
What is a vintage cake?
A vintage cake is intricately decorated using multiple piping styles, often inspired by ornate Victorian designs.
The style traces back to 19th century Europe and Joseph Lambeth, who developed techniques reflecting the architecture of the period. These cakes are traditionally recognized by their frilly, layered buttercream or royal icing work.
How do you make buttercream for vintage cakes?
Beat 24 ounces of unsalted butter with 24 ounces of powdered sugar and 2 teaspoons of vanilla extract until the sugar hydrates and the color turns pale.
That yields about 3 cups, so double it to reach the 6 to 8 cups needed for a finished cake with decorative piping.
The buttercream must hit a medium consistency: too soft and the piping wilts, too stiff and the edges come out jagged.
What piping tips are best for vintage cake decorating?
Wilton #1M creates tall swirls and rosettes, #18 and #16 star tips form clean shells and borders, #104 builds the ruffles and ribbon work that define the style, and #4 handles fine lettering and line details.
Couplers let you swap tips without emptying the bag, which saves both buttercream and patience when one color does multiple jobs.
What frosting is best for vintage cakes?
Buttercream is the standard choice for vintage cake decorating today, especially for swags, rosettes, and layered borders.
Royal icing still has its place for the finest filigree and lettering, but American buttercream scaled up to 6 to 8 cups handles most of the decorative work.
Gel food color is the only sensible choice; liquid dye softens the buttercream past the point where piping discipline can save it.
What is the 4 day cake rule?
For food safety guidance on how long frosted cakes keep, consult a current USDA or state health department resource.