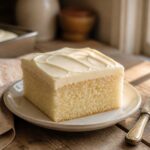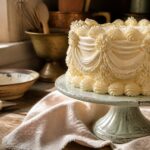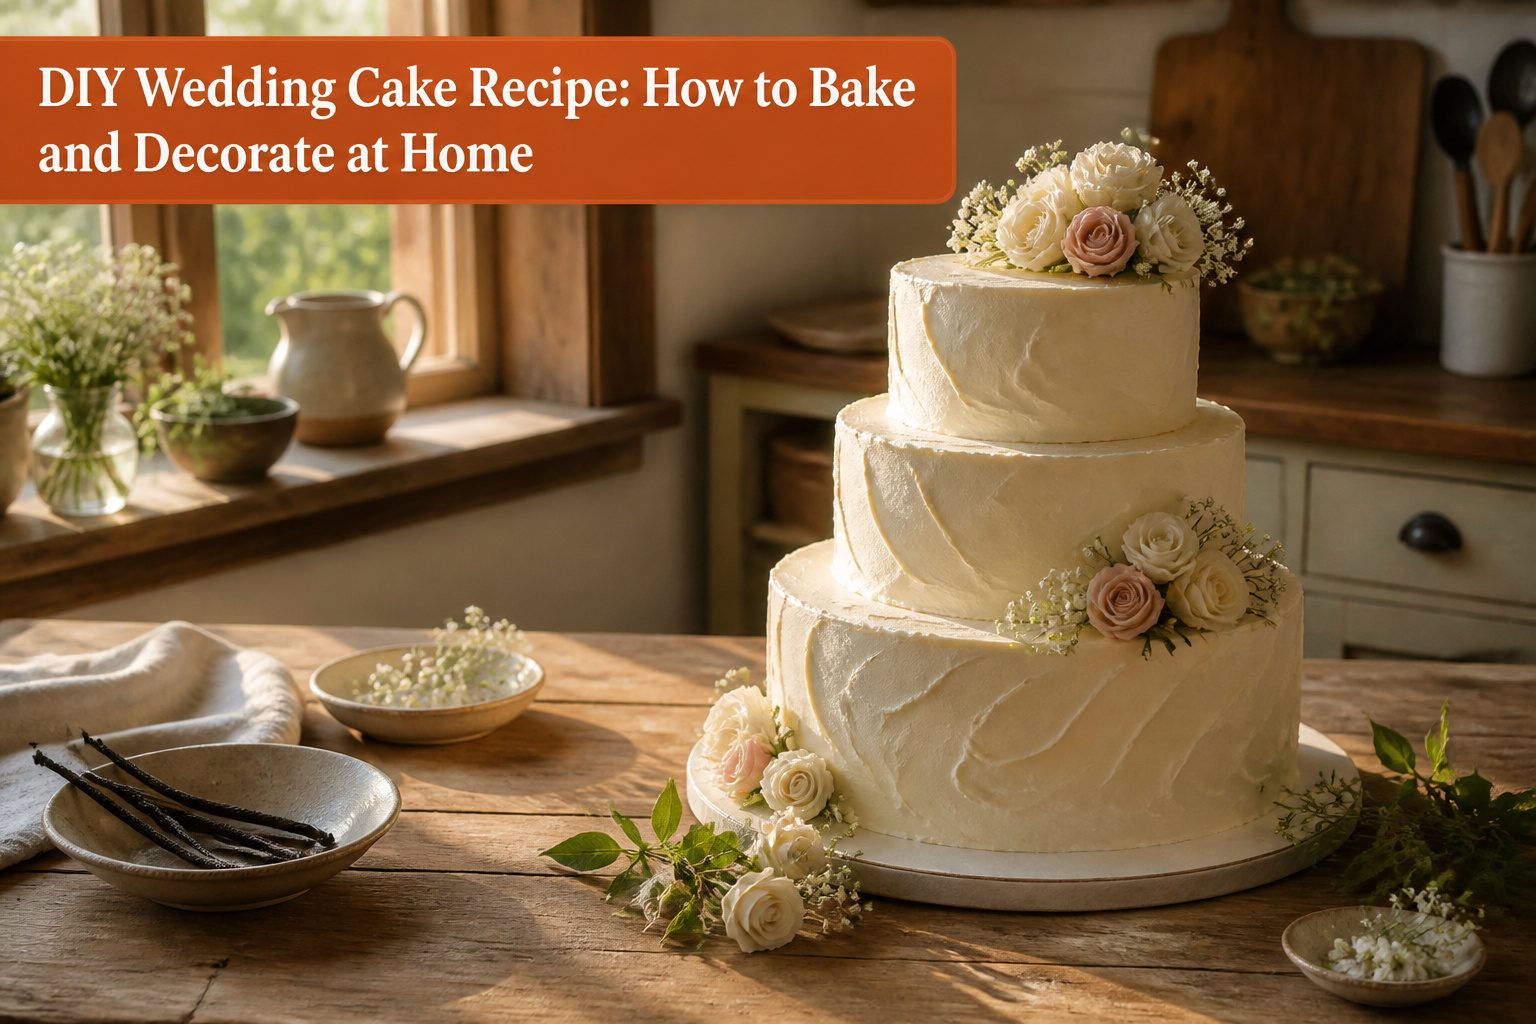
A vanilla wedding cake with clean buttercream and a crumb that stays moist after freezing, built in three tiers for $50–$80 total instead of the bakery’s $300–$600.
The difference is the freezer: layers baked a month ahead and wrapped tight taste better for it, and buttercream hardens in the cold so the tiers handle like furniture instead of pudding during assembly.
Ingredients and Tools
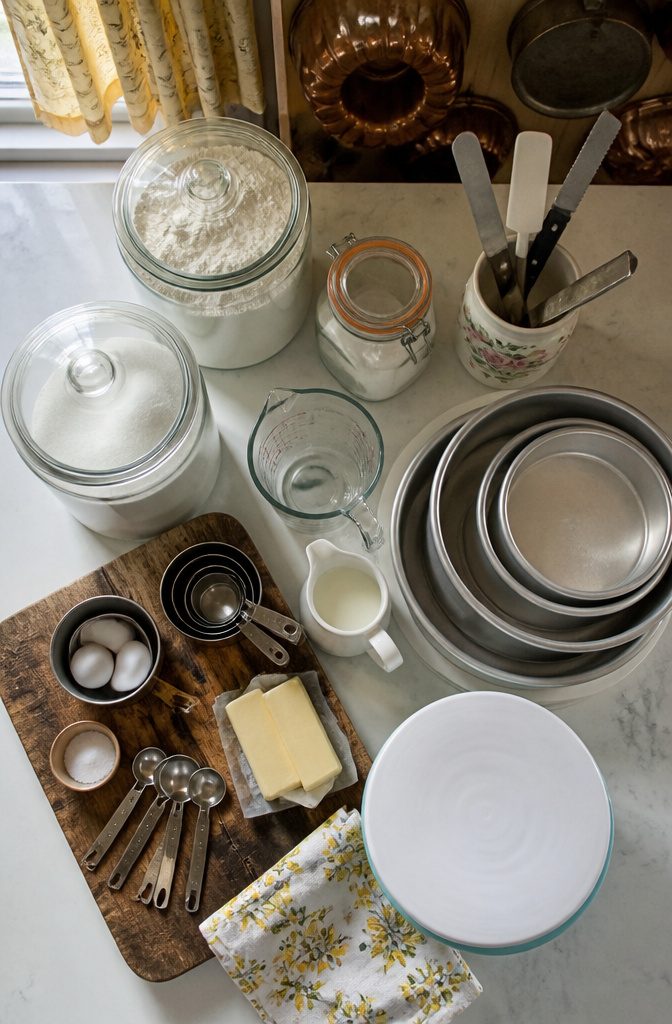
A three-tier vanilla wedding cake for 50–60 guests starts with the right quantities and a few pieces of equipment you probably do not already own.
I scaled the ingredient totals from the recipes that held up best in practice, not the ones that look tidy on paper.
For the cake layers:
- 5 cups all-purpose flour
- 4 ¾ cups granulated sugar
- 3 ¾ teaspoons baking powder
- 1 ½ teaspoons salt
- 1 ½ cups unsalted butter (3 sticks), room temperature
- 8 eggs, room temperature
- 2 ¼ cups buttermilk, room temperature
- 2 ½ teaspoons clear vanilla extract
- ⅓ cup vegetable oil
For the buttercream:
- 8–9 cups total. Most standard vanilla buttercream recipes yield 3 cups per batch, so plan on three batches.
Equipment:
- 6-inch, 8-inch, and 10-inch round cake pans, two of each
- Parchment paper
- Cake board for each tier (6-inch, 8-inch, and 10-inch or 12-inch base)
- Wooden dowels or large plastic straws for stacking
- Serrated knife or cake leveler
- Offset spatula
- Bench scraper or icing smoother
- Cake turntable
Method
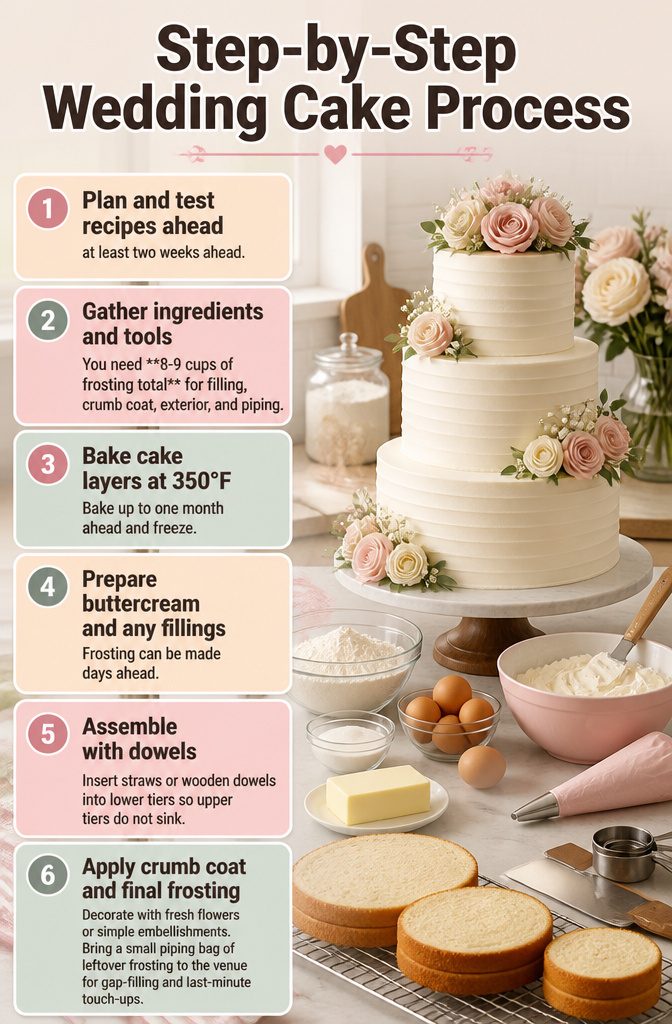
- Plan and test recipes at least two weeks ahead. I set aside a weekend to make fillings, soaks, and chiffon cakes one day, then frostings and practice assembly the next. If your wedding is in summer, choose a stable buttercream; Swiss, Italian, or cream cheese-based frostings hold up better than standard American buttercream in heat.
- Gather ingredients and tools. You need 8-9 cups of frosting total for filling, crumb coat, exterior, and piping. Make two separate batches rather than one; too much frosting overwhelms a standard mixer.
- Bake cake layers at 350°F. A 10-inch cake serves 30-35. Divide batter between two pans for each tier: about 5 cups per 10-inch pan, 3 cups per 8-inch, 2 cups per 6-inch. Bake 22-28 minutes until a thin knife comes out clean. Cool 10 minutes in pans, then transfer to wire racks. Level once completely cool. Bake up to one month ahead and freeze; the freezer is your best friend here.
- Prepare buttercream and any fillings. Frosting can be made days ahead; bring to room temperature and re-whip before using.
- Assemble with dowels for support between tiers. Insert straws or wooden dowels into lower tiers so upper tiers do not sink.
- Apply crumb coat, chill until firm, then final frosting. Decorate with fresh flowers or simple embellishments. Bring a small piping bag of leftover frosting to the venue for gap-filling and last-minute touch-ups.
Planning and Testing
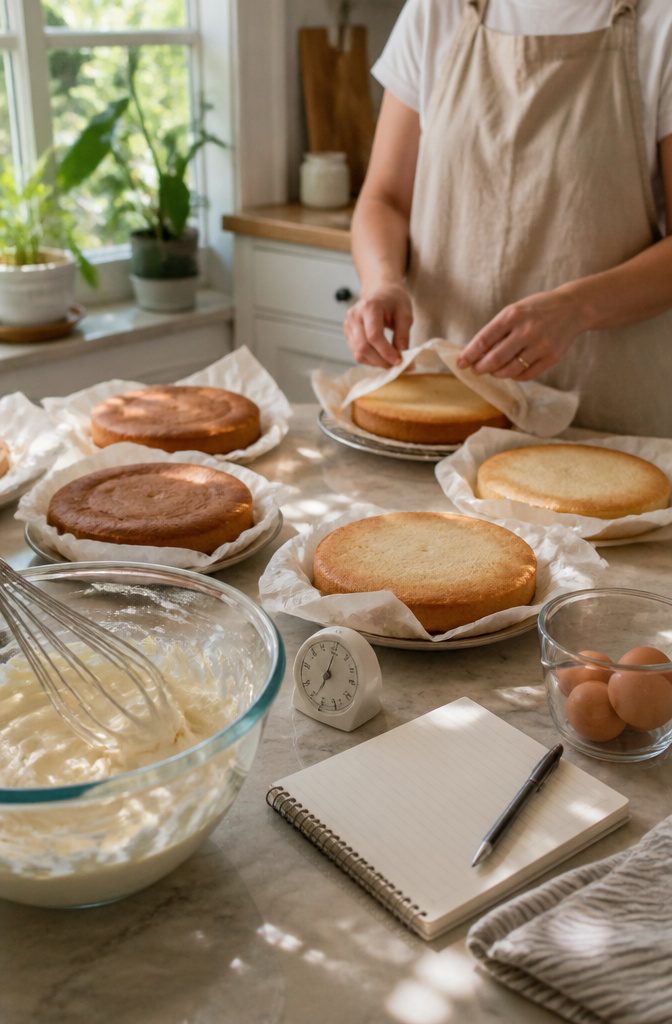
A test bake two weeks before you commit is the bare minimum, though a month out leaves room to adjust for altitude or humidity and still try a second version.
The first thing I check is whether the crumb stays moist after freezing, since properly wrapped cake layers can be baked and frozen up to one month ahead and actually taste better for it.
Flavor matters, but so does your own timing: one test run showed me how long filling, frosting, and assembly really take, and that number never matches what the recipe card implies.
If your kitchen runs warm, Swiss buttercream or a cream cheese-based buttercream holds up better than an untested alternative. Freeze layers while they are still slightly warm, wrap them tight, and the steam locks in rather than drying out.
Cake Flavors
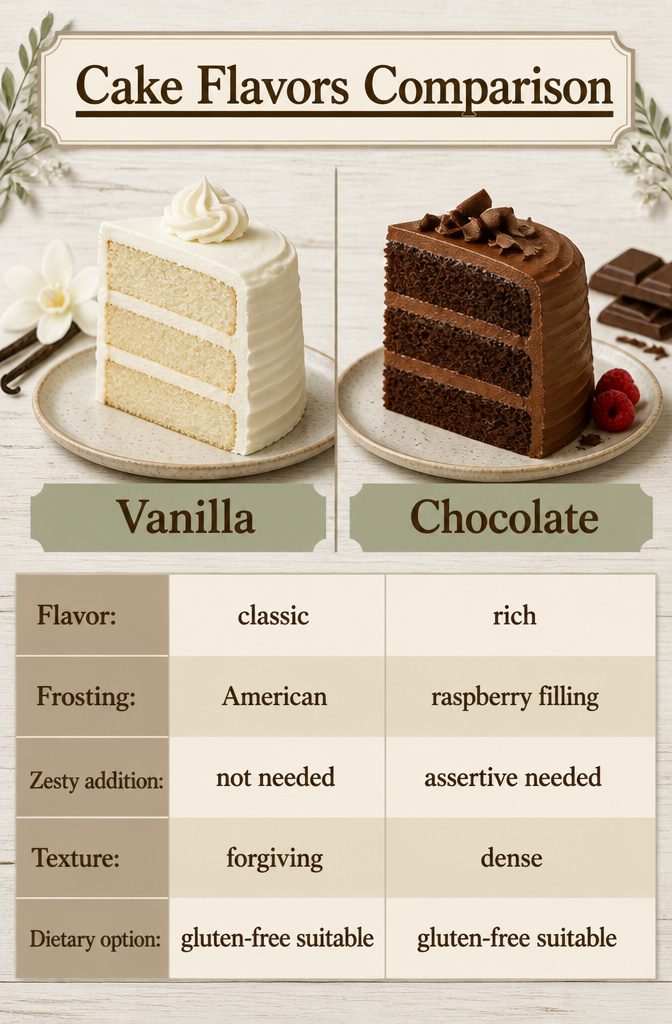
Vanilla and chocolate are the safest bets for a DIY wedding cake because they read as classic without trying too hard.
I pair vanilla cake with American buttercream; the flavor is clean, the texture is forgiving, and a smooth finish is achievable even if your spatula skills are weeknight-cookie level.
Chocolate stands up to the same buttercream, though I find it benefits from a thin layer of raspberry or coffee filling to keep slices from feeling monotonous.
Lemon cake needs buttercream too, but the acidity has to be assertive or the whole tier tastes like yellow cake with a vague citrus note.
I add extra zest and a touch of lemon oil, never extract alone. Red velvet and carrot cake both want cream cheese frosting; the tang balances the spice and keeps sweetness in check.
Swiss meringue buttercream is the workhorse alternative if you need stability for an outdoor reception or a multi-tier stack, it holds longer at room temperature and pipes cleaner than its American cousin.
For guests with dietary restrictions, gluten-free all-purpose flour substitutes directly into any of these batters without changing the flavor profile.
The texture shifts slightly, tighter and more tender, but a guest eating the standard version beside it would not notice the swap unless you told them.
Naked and Semi-Naked Styles
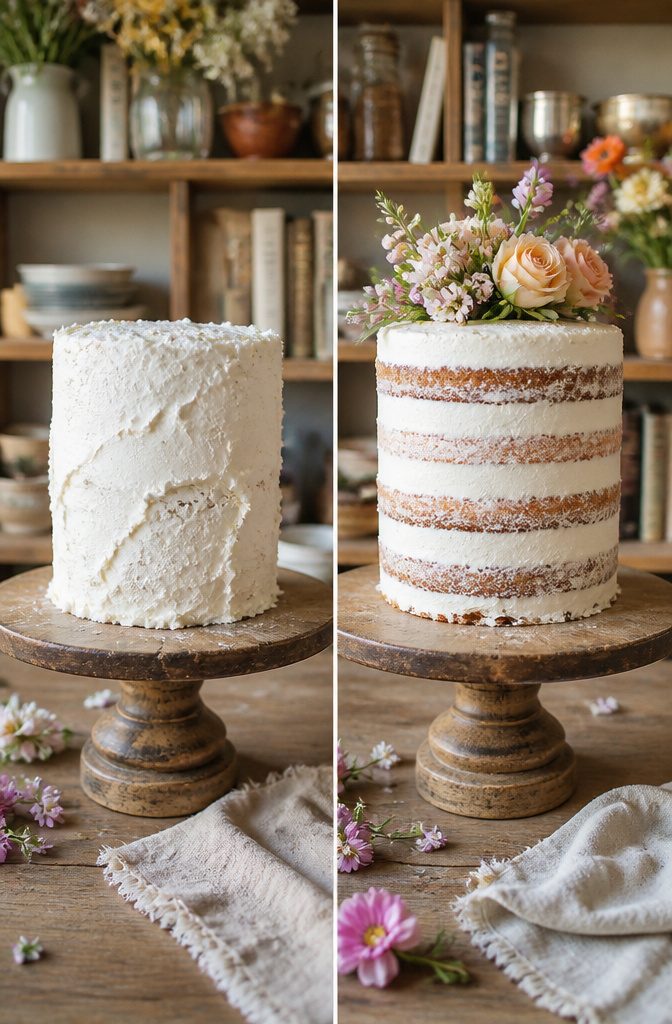
Naked and semi-naked cakes are the two styles that save a DIY wedding cake from looking homemade in the wrong way.
A naked cake shows almost all the sponge, with frosting only between layers and perhaps a thin ring on top; semi-naked gets a light coat all over, thin enough that the cake still peeks through like a crumb coat that stayed put.
Both forgive a wobble in the frosting hand that would sink a fully covered cake.
Semi-naked demands more patience than naked but far less than a smooth finish. You spread buttercream over the whole cake, then scrape it back until only a veil remains and the layers show through in patches.
The look is intentional, so uneven spots read as texture rather than error. Naked skips even that step: level your layers flat, stack with generous filling, and let the cake itself be the decoration.
Cold cake is easier to handle for either style. Let chilled layers sit out about 30 minutes before you level them; too cold and the blade drags, too warm and the cake crumbles under pressure.
A Wilton cake leveler, picked up cheap with a coupon at Michael’s, keeps the cuts flat enough that the tiers stack without rocking. For semi-naked, those flat layers matter more, since the thin coat won’t hide a slope.
The risk with both is drying. Semi-naked cakes left overnight in the fridge need plenty of simple syrup brushed through the layers; without full frosting coverage, the exposed sponge loses moisture faster than you would expect.
Frosting and Filling Stability
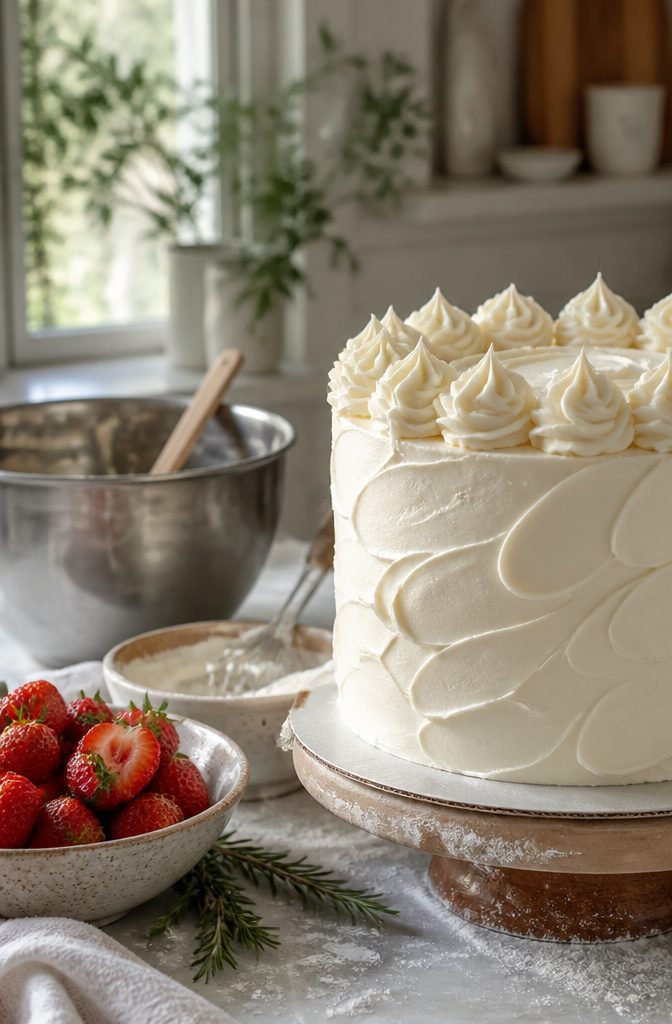
Swiss meringue buttercream is the frosting I would choose for any summer wedding, and the reason is stability. It holds its shape in heat that turns American buttercream greasy and cream cheese frosting into a liability.
I have watched cream cheese-based buttercreams soften past the point of piping within an hour of leaving refrigeration, which makes them a poor fit for outdoor ceremonies or venues without reliable cold storage.
For added insurance, bakers working in peak summer sometimes reach for Ermine, French, or Italian buttercream instead, but Swiss meringue remains the most forgiving option for a first-time DIY wedding cake.
Taste is where the trade-off lives. American buttercream pipes the sharpest roses and ruffles because its powdered-sugar structure sets firm, but that same structure reads as cloyingly sweet against an adult palate.
Swiss meringue is silkier and less sweet, though it demands more technique: the meringue must cool to the right temperature before butter goes in, or the batch breaks.
Cream cheese frosting splits the difference on flavor, tangy against vanilla or strawberry fillings, yet I would not use it for any tier that sits out longer than thirty minutes in warmth above 75°F.
Fruit fillings need a buttercream dam, period. Pipe a ring of stiff buttercream around the outer edge of each cake layer, pressing it firmly against the crumb, before you spoon in strawberry cream or passionfruit curd.
That wall contains moisture that would otherwise seep into the cake and soften the structure from within. Without it, a tier built with fresh strawberries will weep through its layers before the reception starts.
Assembly and Dowels
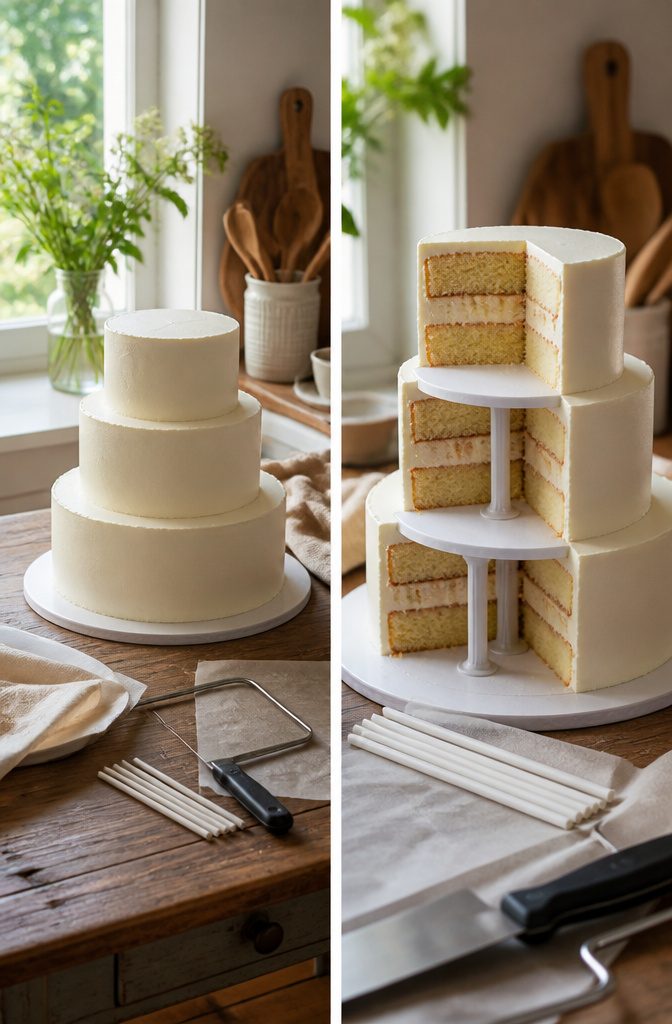
Each tier needs its own cake board, usually 3–4 mm thick for the upper layers and a sturdier 12–13 mm cake drum for the bottom.
The board does two jobs: it spreads the weight so the cake below doesn’t sag, and it lets you lift and place each tier without leaving fingerprints in the frosting.
For the supports themselves, wooden dowels and bubble tea straws both work. Straws are easier to cut flush with a scissor; dowels take a saw or serrated knife but feel more solid under a heavy buttercream load.
Use 4 to 6 supports per 8-inch tier, spaced in a square or circle near the center, never out at the edge where a slice would hit them.
Push one straw or dowel straight down to the board, mark the height, pull it out, and cut every support to that exact length so the upper tier sits perfectly level.
Stack the cake cold, straight from the refrigerator; the buttercream hardens and the layers handle like furniture instead of pudding.
Place the next tier, still on its board, on top of the trimmed supports. The board stays visible as a thin line between layers, which is why I crumb-coat and decorate each tier separately before assembly.
A sharpened central dowel through the entire stack keeps everything centered during the drive, though most home bakers skip it for a two-tier cake and do fine.
If your assembled cake clears the fridge shelf, stack the night before; otherwise, morning-of is standard practice.
Decoration
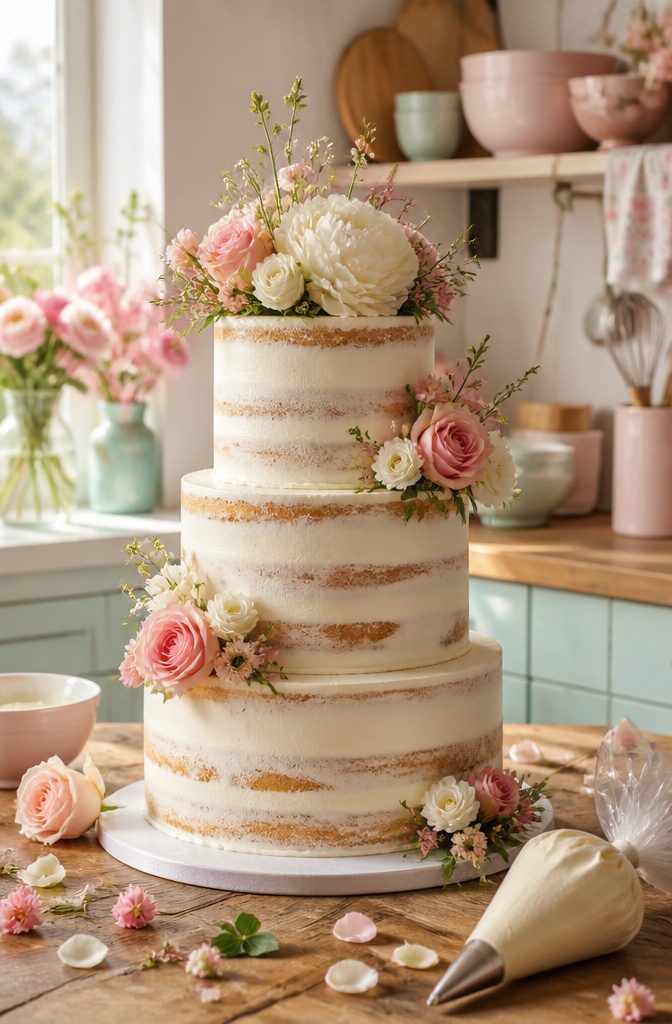
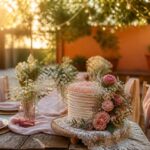
Fresh flowers are the fastest way to make a homemade cake look like it came from a professional bakery, but the timing matters.
Buy them the day before and keep them in water, yet do not add them to the cake until the morning of the wedding or they will wilt and lose their color.
I would skip any flower that touches the cake directly; instead, wrap the stem in floral tape and insert it through a drinking straw or bubble tea straw pushed into the cake first.
That barrier keeps pesticide residue and stem fluids out of the frosting.
Edible flowers, whole fruit, or a few clean lines of buttercream piping achieve the same polished look without the food-safety homework.
A thin crumb coat goes on first to seal the crumbs, then the cake chills until the frosting firms up before the final coat. That waiting step is non-negotiable if you want smooth sides.
Fondant and gum paste figures look impressive in photos, yet they demand practice most first-time wedding cake makers do not have.
The hours spent kneading, coloring, and shaping are hours away from the actual cake, and a lopsided sugar rose undermines the whole effort. Plain buttercream with one well-chosen garnish wins every time.
Transporting the Cake
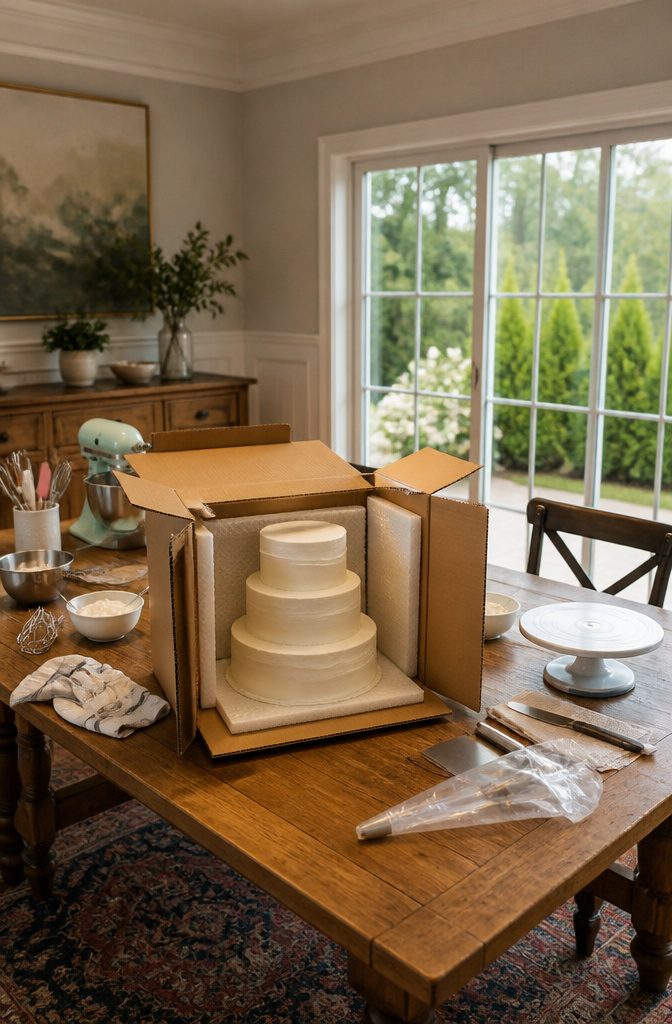
A three-tier cake in one piece is risky to move, so assemble on-site if you can. Some bakers stack at home and white-knuckle the drive; others carry tiers separate and build at the venue.
I land with the second camp. The hour you spend assembling on location buys back the peace of mind you lose watching every stoplight.
If you must transport stacked, a sturdy box slightly larger than the cake board is non-negotiable.
Moving boxes from hardware stores run under $2 and handle the weight. Tape the box shut, cut a flap for sliding the cake in, then tape it closed.
Non-slip matting under the board keeps the cake from skating across the cardboard. Drive with the cake on a flat surface, air conditioning running, and someone riding along to steady it.
The back seat is not flat enough; the floor behind the front seats usually is. Hold it in your lap only if you have arms steady enough to counter every pothole, and only if you are not the one driving.
Yield and Cost
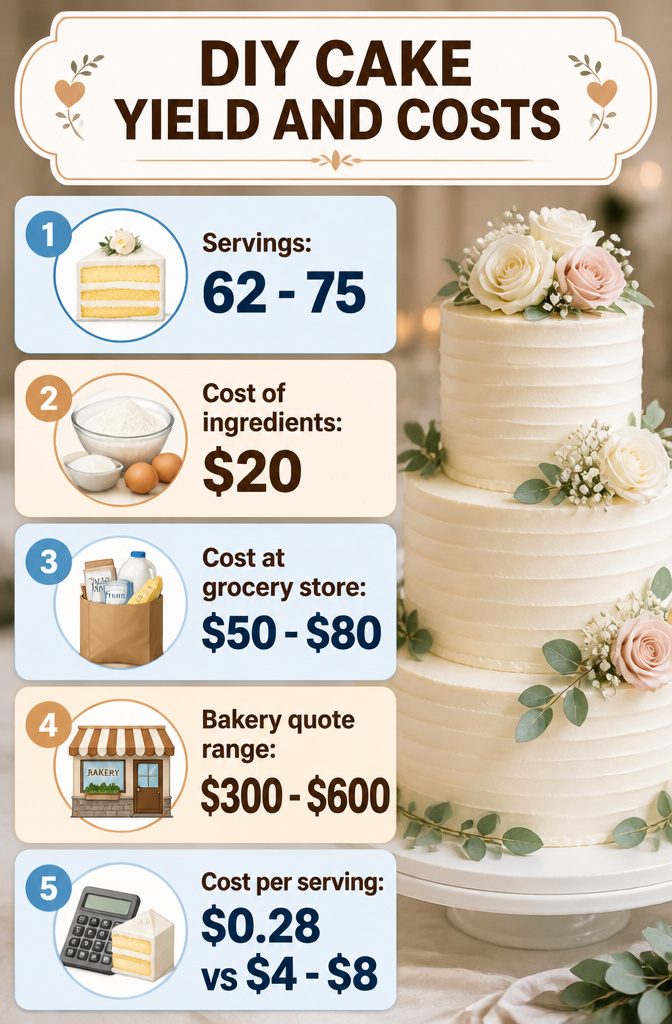
A three-tier DIY wedding cake built from 6-inch, 8-inch, and 10-inch rounds delivers 62 to 75 servings depending on how generously you slice.
The 6-inch top tier feeds 12–15, the 8-inch middle serves 20–25, and the 10-inch base handles 30–35. Cut smaller for a crowded reception, larger for seconds.
The cost gap is what makes home baking worth the effort. A simple single-tier cake runs about $20 in ingredients, while a full three-tier typically costs $50–$80 at the grocery store.
Bakery quotes for the same three-tier size land at $300–$600, with most shops pricing by the slice between $2.50 and $8. That puts the homemade version at roughly $0.28 per serving against the bakery’s $4–$8.
The savings assume standard butter, flour, sugar, and eggs, nothing boutique.
Fondant, fresh flowers, or premium chocolate will push the ingredient total up, though rarely past the halfway mark of a professional quote. For a rustic or simple design, the gap stays wide enough to matter.
Storage and Leftovers
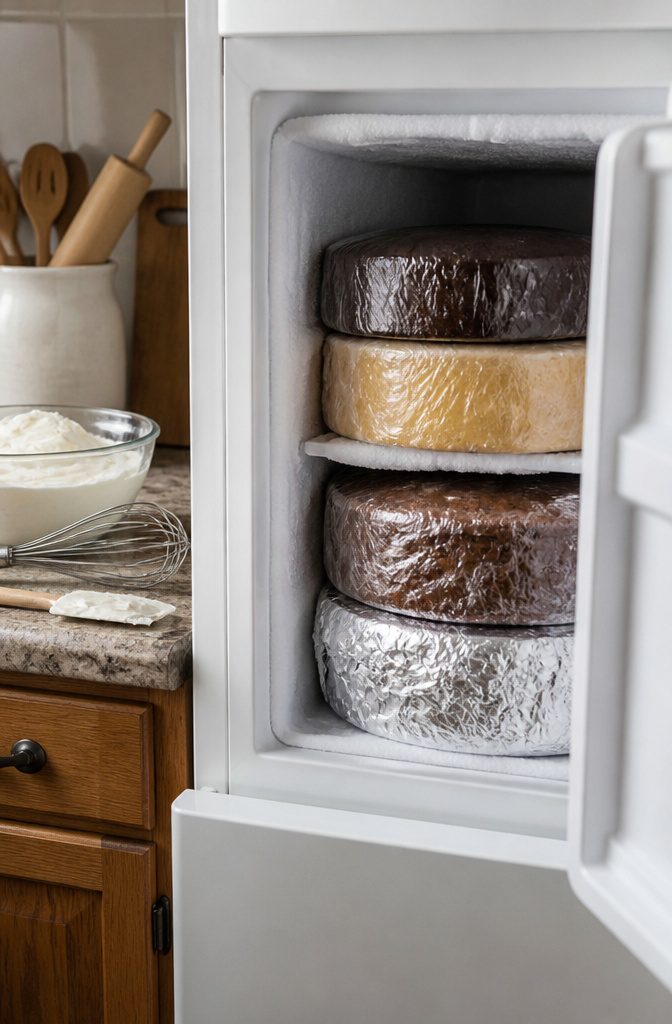
Freezing the layers ahead is the move that saves the week-of wedding panic.
I wrap each cooled layer first in plastic wrap, then in foil, and stack them flat in the freezer where they hold for up to one month without turning dry or crumbly.
Some bakers even wrap while the layers are faintly warm so the steam seals in moisture; either approach works if the wrap is tight enough to block freezer burn.
A finished buttercream cake keeps in the refrigerator for up to three days. The cold firms the frosting into a shell that protects the surface, so the cake actually travels better chilled.
At the reception, leftover strategy depends on what you are saving. Cut portions should be wrapped individually so guests can take them home without the cake drying out.
The top tier for a first anniversary gets the same double wrap, plastic then foil, then goes into a freezer bag for its year-long stay.
The extra layer of bag material matters; foil alone can let odors creep in over months.
Frequently Asked Questions
How do I make a wedding cake?
Work in stages: bake and freeze your layers up to a month ahead, make buttercream a few days before, then assemble with dowels between tiers and decorate the morning of.
A test run two weeks out lets you fix timing, flavor, and structural issues before the real event.
What flavors can I use for a wedding cake?
Vanilla and chocolate are the safest starting points; lemon, red velvet, and carrot cake work well too if you match them with the right frosting.
Swiss meringue buttercream handles heat better for outdoor receptions, while American buttercream is the most forgiving for beginners.
How do I transport a wedding cake?
Carry tiers separately and assemble at the venue if at all possible; the hour spent on-site buys back the stress of watching every bump in the road.
If you must drive it stacked, use a sturdy box slightly larger than the cake board, non-slip matting underneath, and place it on a flat floor surface with the air conditioning running.
How much frosting do I need for a wedding cake?
Plan on 8–9 cups total for a three-tier cake, which means three standard batches of most vanilla buttercream recipes.
Make them separately rather than doubling or tripling in one bowl; too much frosting at once overwhelms a home mixer and risks uneven texture.
Can I make a wedding cake in advance?
Yes, and you should. Bake layers up to one month ahead, wrap them tight in plastic and foil while barely warm so steam seals in moisture, and freeze flat.
Finished buttercream cakes hold in the refrigerator for up to three days, and the cold actually firms the frosting into a protective shell.
Is it worth making your own wedding cake?
A three-tier DIY cake runs about $50–$80 in ingredients versus $300–$600 at a bakery, dropping the per-serving cost from roughly $4–$8 down to about $0.28.
The savings stay wide for simple or rustic designs, even if you splurge slightly on fresh flowers or premium chocolate.
How many days before a wedding do you make the cake?
Bake layers up to a month ahead and freeze them; assemble and decorate the day before or morning of, depending on fridge space and transport plans.
A finished buttercream cake keeps refrigerated for three days, so you have a small buffer if timing shifts.
Can I just make my own wedding cake?
You can, if you test your recipes and timeline at least two weeks out and accept that the result will look homemade-charming rather than bakery-perfect.
Naked and semi-naked styles forgive uneven frosting, and fresh flowers or simple piping hide a multitude of beginner sins.